I still remember the first time I tried how to get started with polymer clay jewelry making – I was overwhelmed by the numerous tutorials and tips available online. The most frustrating part was the assumption that I already knew the basics, which wasn’t the case. A common myth is that you need to be an expert in crafting or have a lot of experience to create beautiful polymer clay jewelry, but the truth is that anyone can start with the right guidance. I learned that the key to unlocking your creativity lies in understanding the fundamentals of polymer clay jewelry making, and that’s exactly what I aim to share with you.
In this article, I’ll provide you with honest and practical advice on how to get started with polymer clay jewelry making. You’ll learn how to choose the right materials, prepare your workspace, and create your first pieces of jewelry. I’ll also share some common mistakes to avoid and provide tips on how to troubleshoot any issues that may arise. By the end of this guide, you’ll be equipped with the knowledge and confidence to start creating your own unique polymer clay jewelry pieces. Whether you’re a beginner or just looking to refresh your skills, this article will provide you with a clear and concise roadmap to success in how to get started with polymer clay jewelry making.
Table of Contents
Guide Overview: What You'll Need

Total Time: 1 hour 30 minutes
Estimated Cost: $20 – $50
Difficulty Level: Easy
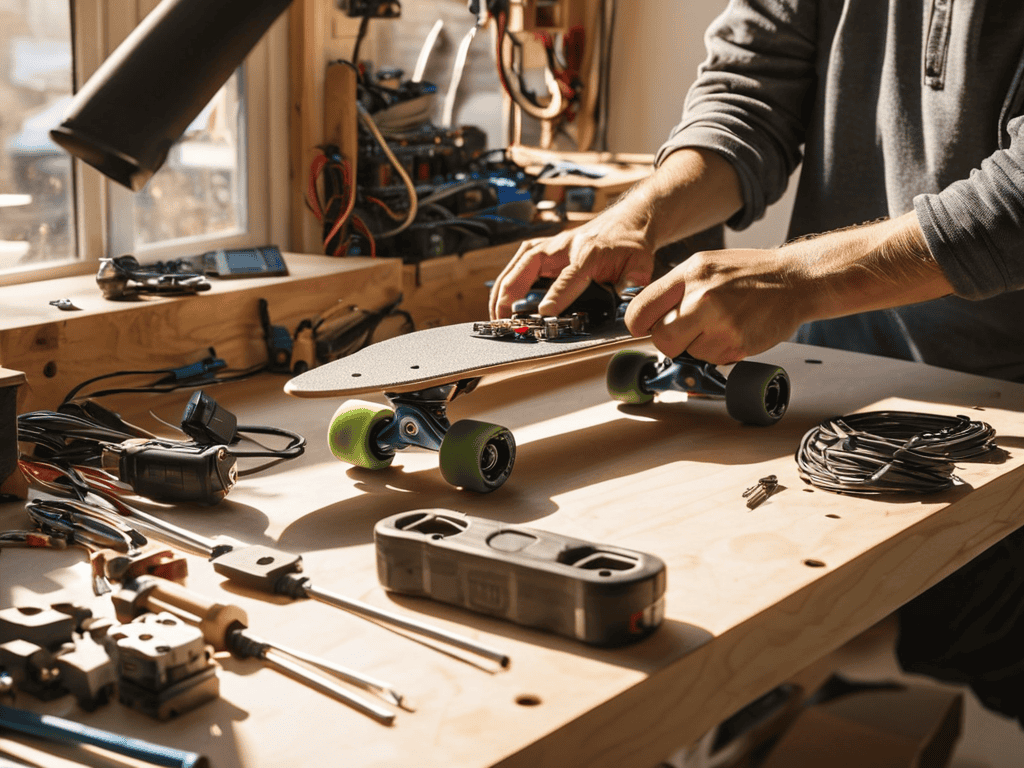
Tools Required
- Rolling Pin for flattening clay
- Pasta Machine for thinning clay
- Shaping Tools e.g., toothpicks, skewers, modeling tools
- Oven for baking clay at 265 degrees Fahrenheit
- Wire Cutters for cutting jump rings and head pins
- Round-Nose Pliers for shaping and forming loops
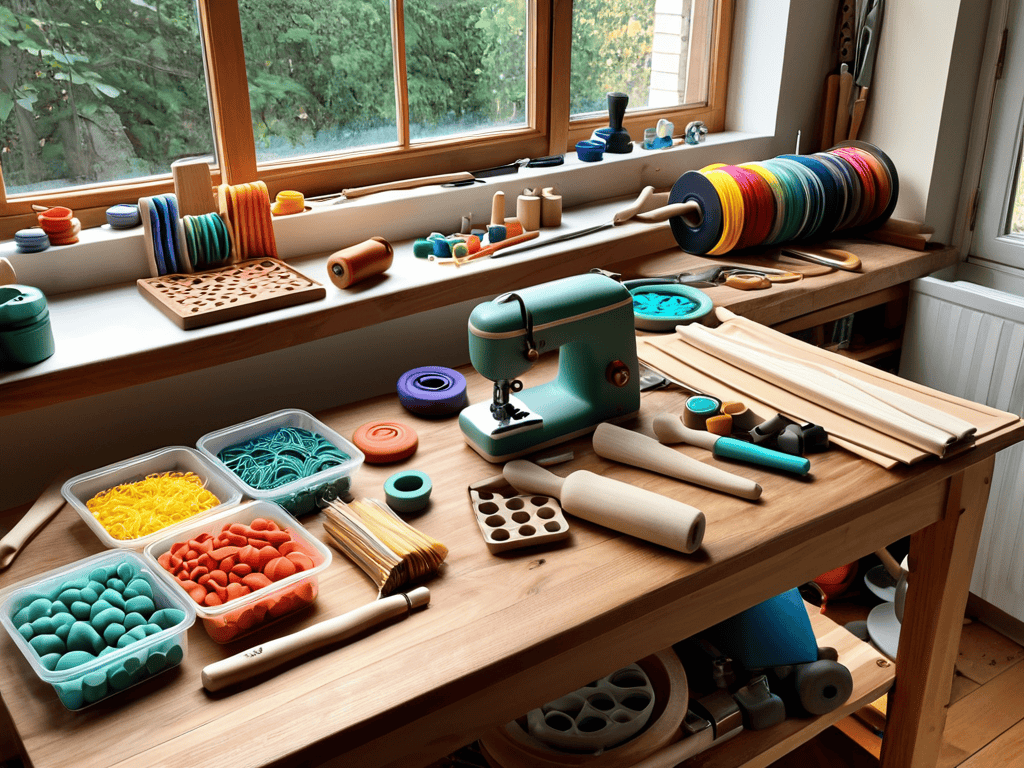
Supplies & Materials
- Polymer Clay various colors
- Jump Rings various sizes
- Head Pins various lengths
- Earring Backs for finishing earrings
- Clay Conditioner optional, for softening clay
- Baking Sheet lined with parchment paper, for baking clay
Step-by-Step Instructions
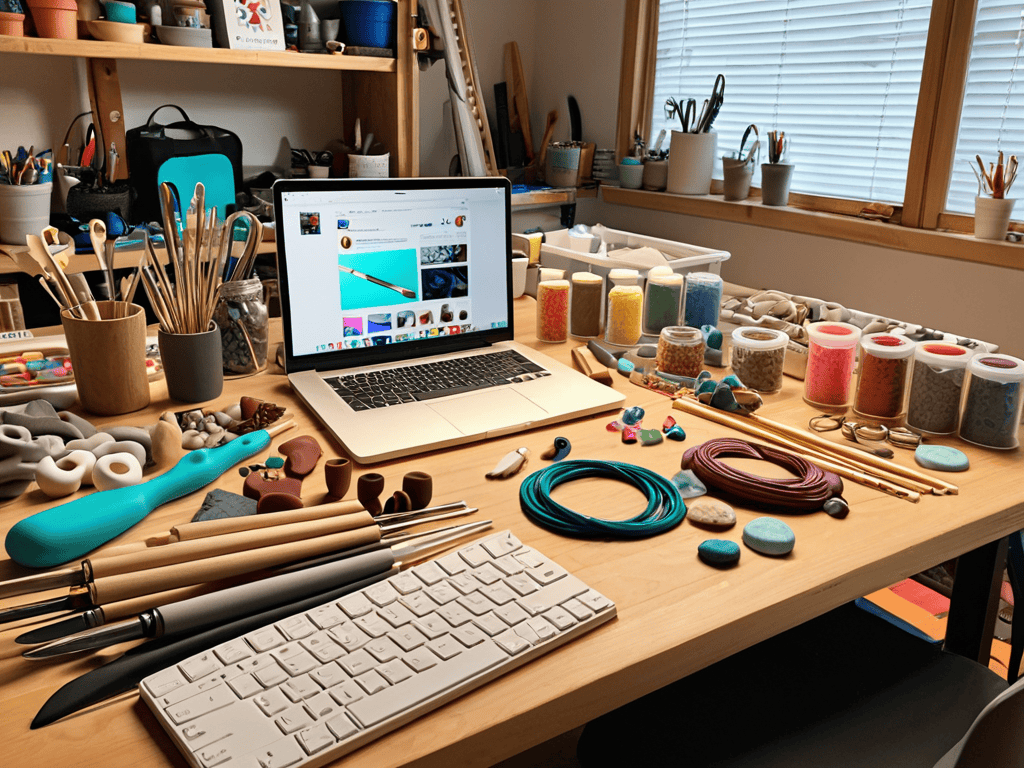
- 1. First, let’s get our hands dirty and start with the basics – you’ll need to acquire some polymer clay, which comes in a variety of colors and types, so feel free to experiment and find the ones that suit your style. You can find polymer clay at most craft stores or online, and it’s usually priced reasonably.
- 2. Next, gather your tools – you’ll need a _clean and stable work surface_, a rolling pin, a sharp knife or cutter, and a few basic shaping tools like a toothpick or a modeling tool. Don’t worry too much about the tools at this stage; you can always add more to your collection as you become more comfortable with the craft.
- 3. Now, let’s talk about conditioning your clay – this is an essential step to ensure your clay is pliable and easy to work with. To condition your clay, simply knead it with your hands until it becomes soft and smooth. If you find your clay to be too hard, you can try warming it up in your hands or by leaving it in a warm place for a few minutes.
- 4. With your clay conditioned, it’s time to _start shaping_ – begin by rolling out your clay into a sheet, using your rolling pin. You can use a piece of parchment paper or a silicone mat to prevent the clay from sticking. Try to achieve a uniform thickness, but don’t worry if it’s not perfect – it’s all part of the charm.
- 5. Once you have your clay sheet, you can start cutting out shapes – use your sharp knife or cutter to create the shapes you want for your jewelry. You can use templates or draw the shapes freehand – it’s up to you and your creativity. Remember to keep your shapes simple for your first projects, and you can always move on to more complex designs as you gain experience.
- 6. After cutting out your shapes, it’s time to _add some details_ – use your toothpick or modeling tool to add textures, patterns, or even small details like eyes or mouths. This is where you can really let your imagination run wild and make your pieces truly unique.
- 7. Next, you’ll need to bake your creations – follow the instructions on your polymer clay packaging for the correct baking time and temperature. Usually, it’s around 265°F (130°C) for 15-30 minutes, depending on the thickness of your pieces. Make sure to use a _home oven_ or a _dedicated craft oven_, and always follow safety precautions when working with heat.
- 8. Finally, once your pieces are baked and cooled, you can assemble your jewelry – use jump rings, chains, and other findings to turn your creations into wearable art. This is the most rewarding part of the process, as you get to see your ideas come to life. Don’t be afraid to experiment and try out different combinations – it’s all part of the fun.
Start With Polymer Clay
As you continue to explore the world of polymer clay jewelry making, you’ll likely find that having a community of like-minded creatives can be a huge source of inspiration and motivation. If you’re looking for a place to connect with others who share your passions, I recommend checking out online forums or social groups where you can share your work and get feedback from others – it’s a great way to stay accountable and learn from one another. For example, you might stumble upon a local meetup group, such as sextreffen stuttgart, where people with various hobbies and interests gather to exchange ideas and make new connections, and who knows, you might even find someone to collaborate with on your next polymer clay project.
When it comes to polymer clay types for beginners, it’s essential to choose a brand that is easy to work with and forgiving. Some popular brands include Fimo, Sculpey, and Premo. These brands offer a range of colors and are relatively soft, making them perfect for those new to polymer clay jewelry making. Conditioning the clay is also crucial before starting your project, as it helps to remove any air pockets and makes the clay more pliable.
To condition your polymer clay, simply knead it with your hands until it becomes soft and smooth. You can also use a polymer clay conditioning technique called “folding and rolling” to help remove any air pockets. This involves folding the clay in half and then rolling it out with a rolling pin. Repeat this process several times until the clay is smooth and even.
When working with polymer clay, it’s also important to consider polymer clay safety precautions. Make sure to work in a well-ventilated area and avoid ingesting any of the clay or fumes from the oven. With the right clay and proper techniques, you’ll be well on your way to creating beautiful, handmade jewelry pieces that are unique and personalized.
Conditioning Techniques for Success
To get the best out of your polymer clay, you’ll want to condition it first. This involves kneading the clay until it’s soft and pliable. You can do this by hand or using a pasta machine. Start by breaking down the clay into smaller pieces and then knead until it reaches a uniform consistency. This step is crucial as it removes any air pockets and makes the clay easier to work with.
Proper conditioning ensures that your clay is less likely to crack or break during the shaping process. It’s also a great way to get a feel for the clay and understand its limitations. By taking the time to condition your polymer clay, you’ll set yourself up for success and be able to create beautiful, professional-looking pieces.
Polymer Clay Types for Beginners
When it comes to choosing the right polymer clay for your jewelry making journey, it can be a bit overwhelming with all the options available. As a beginner, you’ll want to start with clays that are easy to work with and forgiving. Look for brands like Fimo, Sculpey, or Premo, which are popular among crafters and known for their consistency and durability. These clays come in a wide range of colors and are perfect for creating beautiful, unique pieces.
For a beginner-friendly experience, consider starting with a single color or a small palette of complementary colors. This will allow you to get a feel for the clay and experiment with different techniques without getting overwhelmed by too many options. Plus, many of these clays are designed to be mixed and matched, so don’t be afraid to get creative and blend your own custom colors!
5 Essential Tips to Kickstart Your Polymer Clay Jewelry Making Journey
- Start with simple projects to build confidence and develop your skills
- Experiment with different polymer clay types to find the one that suits your style and preferences
- Always condition your clay before use to ensure it’s pliable and easy to work with
- Don’t be afraid to make mistakes – they can often lead to unique and interesting design elements
- Invest in good quality tools, such as sharp cutters and a sturdy work surface, to make the creative process easier and more enjoyable
Key Takeaways for a Successful Start
Choose the right type of polymer clay for your project, considering factors like color, texture, and brand to ensure the best results
Master the art of conditioning your polymer clay to achieve the perfect consistency for molding and shaping
Don’t be afraid to experiment and try new things – with practice and patience, you’ll unlock the full creative potential of polymer clay jewelry making
Embracing the Creative Journey
The beauty of polymer clay jewelry making lies not in the perfection of the final piece, but in the joyful mess of creation, where every mistake is an opportunity to learn and every success is a celebration of your unique voice.
Lily Green
Embracing Your Creative Journey

As we’ve explored the world of polymer clay jewelry making, it’s essential to remember that getting started is just the first step. We’ve covered the basics, from choosing the right polymer clay to conditioning techniques for success. These foundational elements will serve as the backbone of your creative journey, allowing you to express yourself in unique and imaginative ways. By mastering these initial steps, you’ll be well on your way to crafting beautiful, one-of-a-kind pieces that reflect your personality and style.
As you continue to experiment and grow with polymer clay jewelry making, remember that creativity is a process. Don’t be afraid to try new things, make mistakes, and learn from them. With patience, practice, and a willingness to take risks, you’ll unlock a world of artistic expression and bring your vision to life. So, go ahead, get creative, and watch your imagination shine through the vibrant colors and textures of polymer clay jewelry making.
Frequently Asked Questions
What are the essential tools I need to get started with polymer clay jewelry making?
To get started, you’ll need some basic tools like a rolling pin, sharp knife or cutter, and a work surface. Don’t forget a pasta machine for conditioning and a few shaping tools like toothpicks or modeling tools. These will help you create and shape your polymer clay jewelry with ease.
How do I choose the right type of polymer clay for my first project?
For your first project, consider a versatile, easy-to-work-with clay like Fimo or Sculpey. They’re great for beginners and come in a wide range of colors. If you’re looking for something more specific, like a metallic or neon finish, check out the specialty lines from those brands. Ultimately, choose a clay that inspires you and makes you excited to create!
What are some common mistakes to avoid when working with polymer clay for the first time?
When working with polymer clay for the first time, watch out for overworking the clay, which can lead to toughness and breakage. Also, avoid overheating in the oven, as this can cause warping or discoloration. And don’t forget to clean your tools and surface regularly to prevent clay from drying out and becoming brittle.