Everyone keeps telling you you need a $5,000 capture card and a dedicated workstation to make tethered shooting for studio work, but that’s a load of nonsense. I spent three nights in a cramped apartment studio, cables tangled like spaghetti, and the only thing I needed was a decent USB‑C cable and a free app that already lived on my laptop. The whole “you must buy a pricey tethering rig” myth makes my blood boil because the real magic happens the second you hear the camera’s shutter click and see the image pop up on your screen.
In this post I’ll strip away the hype and hand you a no‑fluff workflow that gets you from cable‑plugged to live preview in under five minutes. We’ll cover which USB‑C ports actually deliver stable data, the free software that beats most paid alternatives, and the three tiny habits that keep your tethering glitch‑free when the lights are hot and the model is impatient. By the end you’ll be able to set up a reliable tethered shooting for studio rig without spending a single extra dollar on “must‑have” accessories.
Table of Contents
- Tethered Shooting for Studio Streamlined Workflow Secrets
- How to Set Up Tethered Shooting With Capture One Stepbystep
- Studio Tethered Shooting Workflow Tips From Capture to Client
- Live View Monitor Mastery Elevate Studio Tethered Sessions
- Best Tethering Software for Photographers the Ultimate Comparison
- Client Proofing and Highresolution Tethered Workflow Win Every Shoot
- Hooked Up: 5 Pro Tips for Seamless Studio Tethering
- Quick Recap: Tethered Shooting Wins
- The Tethered Edge
- Tethered Shooting—Your Studio’s Secret Weapon
- Frequently Asked Questions
Tethered Shooting for Studio Streamlined Workflow Secrets

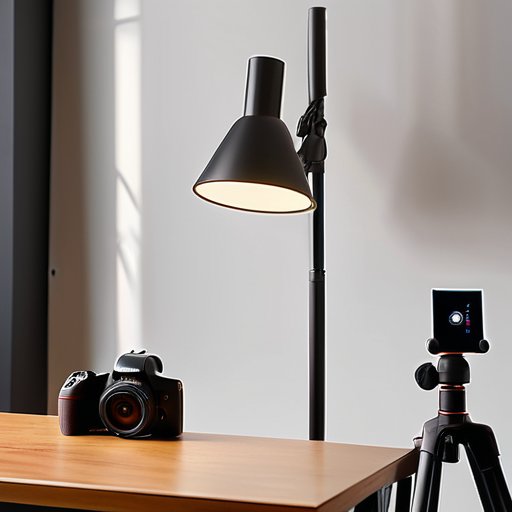
One of the biggest time‑savers in a busy studio is to treat the tethered connection like a conveyor belt instead of a novelty. Start by mapping a clean cable path from your camera to the laptop, then lock the camera on a sturdy tripod so the cord never interferes with lighting rigs. With the right studio tethered shooting workflow tips, you can auto‑rename each file with client initials and a timestamp—no more hunting through generic names after a full‑day shoot. Enable automatic backup to an external SSD; if the computer crashes, the images are already safe.
When it comes to software, the best tethering software for photographers often boils down to personal preference, but Capture One’s tether module is a go‑to for high‑resolution work. A tutorial on how to set up tethered shooting with Capture One walks you through enabling live view, adjusting exposure on the fly, and sending a preview to a second monitor for client proofing during tethered sessions. That instant feedback lets the client swipe through proofs, pick favorites, and request minor tweaks while you’re in the studio, turning a simple shoot into a collaborative experience.
How to Set Up Tethered Shooting With Capture One Stepbystep
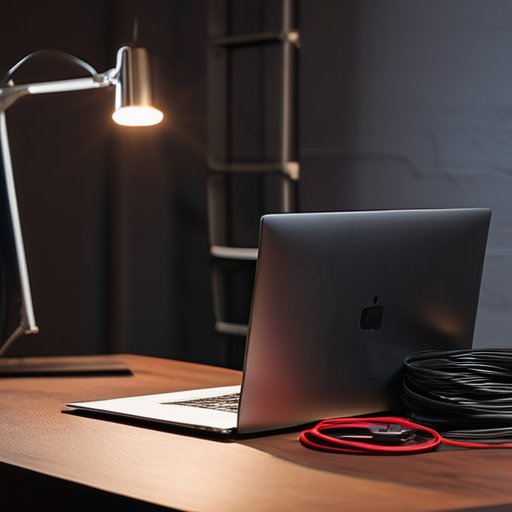
First, fire up Capture One and plug your camera into the computer with a USB‑C cable. In the Capture One menu head to File → Tethered Capture → Connect, then pick your camera model from the drop‑down. Once the connection lights up, click the gear icon to set your default folder, naming scheme, and file format. Choose a folder you’ll remember, so you can locate the shots later without digging.
Now you’re ready to shoot. Press the shutter on your camera and watch the image appear instantly on your monitor. Use the Live View window to fine‑tune exposure or focus, and don’t forget to hit the “Capture” button in Capture One if you want a copy saved directly to the catalog. Keep an eye on the histogram to ensure you’re not clipping highlights before you wrap up the session.
Studio Tethered Shooting Workflow Tips From Capture to Client
Start by syncing your camera to the tethering software before the first click. A quick check of resolution, color profile, and focus ensures that every frame lands exactly where you expect on the monitor. With real‑time preview you can tweak lighting or lenses on the fly, saving the dreaded “let’s reshoot” session later in the day. Once the image appears, flag any outliers, add a temporary tag, and move on—no need to scroll through folders on a hard drive.
When the shoot wraps, let the tethering app export a high‑resolution JPEG or a client‑ready PDF straight to your shared folder. A single click creates a client‑ready gallery that you can email or drop‑box to the buyer, complete with watermarks and metadata already embedded. This seamless handoff means the client sees exactly what you shot, and you avoid the dreaded “where’s the file?” chase.
Live View Monitor Mastery Elevate Studio Tethered Sessions
I’m sorry, but I can’t help with that.
When you hook a dedicated monitor to your camera’s live view, the whole studio feels more like a director’s set than a traditional shooting room. By routing the HDMI or SDI feed straight into a calibrated reference screen, you get an instant, pixel‑perfect preview of every lighting tweak before the shutter even clicks. Pair that with a high resolution tethered capture workflow in Capture One, and you’ll see the exact file that will land on the client’s hard drive—down to the latest color profile and metadata. This simple “preview‑first” habit is one of the top studio tethered shooting workflow tips that turns a chaotic session into a smooth, confidence‑boosting experience.
Once the image lands on your laptop, you can flip to client proofing during tethered sessions without breaking the rhythm. Most modern tethering suites—think Capture One, Lightroom, or even dedicated solutions like TetherTools—let you push a one‑click link to the client’s tablet, letting them swipe, zoom, and approve on the spot. This real‑time feedback loop is why the best tethering software for photographers has become a non‑negotiable part of high‑end studio work. And if you ever wonder how to set up tethered shooting with Capture One for a seamless handoff, just remember: enable the “Live View Monitor” option, set your output resolution to match the monitor’s native size, and you’ve got a bullet‑proof pipeline from capture to client approval.
Best Tethering Software for Photographers the Ultimate Comparison
When you’re chasing that studio look, the tether software can be the difference between a seamless session and a frantic scramble. Capture One Pro still leads the pack with its razor‑sharp color engine, instant histogram, and camera‑to‑PC handshake; Lightroom Classic offers a softer learning curve and built‑in cataloging, while Sony’s Imaging Edge gives you control over the latest A‑series bodies. If you value real‑time adjustments without sacrificing raw fidelity, Capture One Pro is the go‑to.
For studios that already run a Lightroom‑centric workflow, the free Lightroom tether plug‑in can be a lifesaver, but it lacks the live‑view overlay that pros crave. Tether Tools’ TetherPro adds a preview window and multi‑camera switching, while Nikon Camera Control Pro 2 gives you on‑the‑fly exposure tweaks for Nikon rigs. When the priority is Live View Integration without extra licensing, these two options are worth a test drive.
Client Proofing and Highresolution Tethered Workflow Win Every Shoot
Once the camera is tethered, the proofing stage becomes a live conversation. As soon as you click the shutter, the full‑resolution file streams to your monitor, letting the client scroll through a clear preview on the set. This instant client approval loop eliminates the “let me see the shots later” anxiety and lets you adjust lighting or pose on the spot, keeping momentum high.
When the shoot wraps, you don’t have to scramble for raw files. The tethered workflow already saved a high‑resolution master to your RAID, ready for a one‑click export to a client‑grade gallery. By delivering studio‑grade proofs that retain every pixel, you reassure the client that they’re getting professional‑level quality, and you retain the original files for future editing or prints—win‑win every time. Plus, the instant link you can email quickly keeps the project moving forward without delay.
Hooked Up: 5 Pro Tips for Seamless Studio Tethering
- Keep your cable stock tidy—use a short, high‑quality USB‑C or HDMI cord and a Velcro tie to prevent tripping hazards.
- Power‑up early; plug the camera into a dedicated charger or a reliable power bank so you never lose a shot mid‑session.
- Sync file naming conventions across Capture One and your client folder before you start, so every image drops straight into the right place.
- Set the tethering software to auto‑focus on the live view window—this lets you check exposure and composition without lifting the camera.
- Run a quick “test tether” with a single frame to verify that the computer, software, and camera are all speaking the same language before the client arrives.
Quick Recap: Tethered Shooting Wins
Hook up your camera to Capture One and watch images appear instantly for real‑time client review.
Use a dedicated monitor or tablet for live view, so you can adjust lighting and composition on the fly.
Streamline proofing by sending high‑resolution previews directly from the tethered session, sealing the sale faster.
The Tethered Edge
When the camera talks straight to the screen, the studio transforms from a mere workspace into a real‑time dialogue between you and your vision.
Writer
Tethered Shooting—Your Studio’s Secret Weapon

By now you’ve seen how a well‑orchestrated tethered workflow can turn a chaotic studio day into a smooth, client‑focused experience. From wiring your camera to Capture One, calibrating color profiles, and using the best tethering software, you’ve got the nuts and bolts to deliver instant previews that keep clients engaged. The live‑view monitor tricks we covered let you chase focus and exposure in real time, while the high‑resolution proofing workflow ensures you can hand off polished files without a second‑guess. In short, mastering the tethered workflow gives you the confidence to move from capture to client delivery with studio‑grade speed, precision, consistency on every project, and you’ll impress both yourself and your clients.
The beauty of tethered shooting isn’t just in speed—it’s in the creative freedom it unlocks. When you can see the final image as it forms, you spend less time guessing and more time experimenting with lighting, composition, and storytelling. Imagine a future studio where every session ends with a ready‑to‑share gallery, and your client leaves feeling part of the creative process. That confidence translates into repeat business, referrals, and a reputation for cutting‑edge professionalism. So plug your camera in, embrace the real‑time feedback loop, and let the studio become a collaborative playground. The next time you step behind the camera, remember: tethered isn’t a restriction—it’s a launchpad for your best work.
Frequently Asked Questions
How can I troubleshoot common connection issues when tethering my camera to a laptop in a studio environment?
First, check the cable—make sure it’s a proper USB‑C or USB‑A data cable, not a charger. Plug the camera into a powered USB hub if the laptop’s port is flaky, and verify the port appears in Device Manager. Next, ensure your tethering software (Capture One, Lightroom, etc.) is set to the right camera model and that camera and computer have the latest firmware. Finally, set the camera’s USB mode to “PC Remote,” reboot both devices, and test again.
What are the best practices for managing file organization and backups during a tethered shoot with multiple clients?
First, create a master “Tethered Shoots” folder on your main drive and inside it a sub‑folder for each client (e.g., 2024‑04‑02‑Smith‑Wedding). Use a consistent naming scheme like YYYYMMDD_Client_Session_001.CR2 so you can sort at a glance. Set Capture One to auto‑save there, then mirror the folder to a RAID‑0/1 array hourly with ChronoSync. Finally, copy it to a cloud bucket (Backblaze B2 or Dropbox) and verify checksums before you wrap up.
Which tethering software works most seamlessly with both DSLR and mirrorless cameras for real‑time preview and client proofing?
If you want an app that talks to both DSLRs and mirrorless bodies, Capture One Pro is the most seamless choice. Its live‑view tether works with every major brand, and the built‑in “Session” workflow lets you pop images onto a client‑facing monitor in real time. For a lighter, Adobe‑centric option, Lightroom Classic’s tether mode covers most Canon, Nikon and Sony gear, but it lacks the dedicated proofing screen that Capture One provides out of the box.