I still remember the smell of scorched ozone and the sound of a $5,000 precision component shattering on a concrete floor because I thought I could “eyeball” the grip strength. I was convinced that more expensive meant better, but that afternoon taught me that even the fanciest Robotic End-Effector Gripper Kits are absolutely useless if you don’t understand the fundamental physics of your specific payload. Most people think you just slap a high-end actuator on a robotic arm and call it a day, but that’s a fast track to a broken budget and a lot of wasted downtime.
Look, I’m not here to sell you on the shiny, over-engineered marketing fluff that most manufacturers use to pad their margins. My goal is to cut through the noise and give you the straight truth about what actually works when you’re in the middle of a real-world deployment. I’m going to walk you through the practicalities of selecting Robotic End-Effector Gripper Kits based on real-world durability and ease of integration, rather than just looking at a spec sheet. No hype, no fluff—just the stuff you actually need to know to get the job done right.
Table of Contents
Precision Pick and Place Automation Strategies
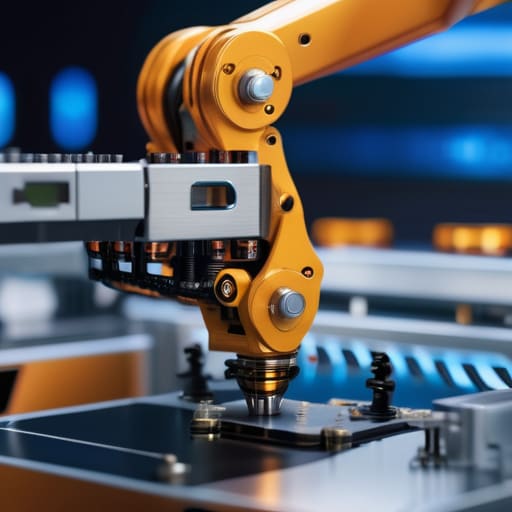
When you’re moving from basic “grab and drop” movements to true precision pick and place automation, the strategy shifts from raw power to finesse. You can’t just slap any claw on an arm and expect it to handle delicate electronics or oddly shaped components without a hitch. The secret lies in how you integrate your hardware with your control logic. If your setup lacks the right feedback loops, you’re essentially flying blind, hoping the part doesn’t slip mid-transit.
To really nail this, I’ve found that leaning into robotic gripper modular components is a game changer. Instead of trying to find one “perfect” tool that does everything—which usually results in a tool that does nothing well—you should build a library of specialized attachments. This allows you to swap out fingers or vacuum pads based on the specific geometry of the task at hand. It’s about being adaptable; if you treat your end-of-arm tooling as a dynamic part of the system rather than a static afterthought, your error rates will plummet and your throughput will finally start to look professional.
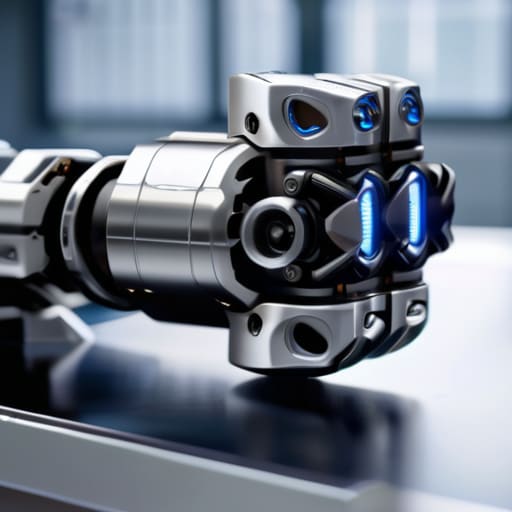
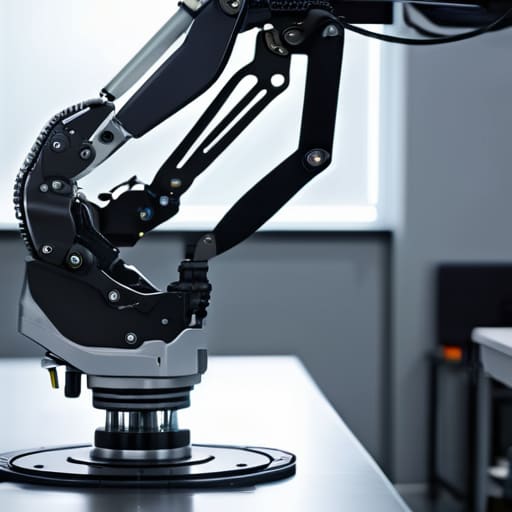
Integrating Industrial Robotic Hand Kits
Integrating these kits into an existing production line isn’t as simple as just bolting them on and hitting “start.” You have to think about how the hardware talks to your controller. If you’re working with industrial robotic hand kits, the real magic happens in the handshake between the sensor feedback and the motor response. You don’t want a setup where the gripper is guessing the pressure required; you need a system that knows exactly when it has a secure hold without crushing the component.
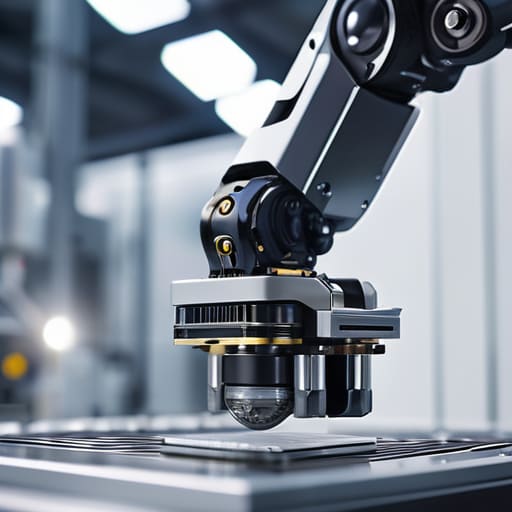
The real bottleneck usually comes down to versatility. If your line switches between different part geometries every few hours, you can’t afford to swap out the entire hardware setup every time. This is where investing in high-quality robotic gripper modular components becomes a game changer. Instead of a one-size-fits-all approach, you can swap out fingers or specialized pads to suit the task at hand. It’s about building a flexible ecosystem rather than a static tool, ensuring your automation stays agile enough to handle whatever the next production run throws at it.
Pro-Tips for Not Wasting Your Budget on the Wrong Hardware
- Stop obsessing over raw grip strength and start looking at payload-to-weight ratios. If your gripper is too heavy, you’re killing your robot’s cycle time and putting unnecessary strain on the motors just to hold a tiny component.
- Don’t overlook the “mess factor.” If you’re working with oily parts or dusty environments, a standard pneumatic gripper might seize up in a week. Invest in sealed units or specialized coatings from the jump to avoid constant maintenance headaches.
- Think about your part geometry before you buy. If you’re handling irregular shapes, a rigid two-finger gripper is going to be a nightmare. Look for kits that offer compliant fingers or adaptive geometries so you aren’t constantly re-programming paths to compensate for slips.
- Test your sensor integration early. A gripper that can’t tell the difference between a successfully seated part and a crushed one is just a blind machine. Make sure your kit has clear feedback loops—either tactile or optical—so your system knows exactly when a task has actually succeeded.
- Plan for “swap-ability.” Your production needs will change, so don’t get locked into a proprietary mounting system that makes changing end-effectors a four-hour ordeal. Stick to standardized ISO patterns so you can swap tools on the fly without a complete overhaul.
The Bottom Line on Gripper Kits
Don’t just chase the highest specs on paper; pick a kit that actually handles your specific part geometry without constant recalibration.
Integration isn’t a “set it and forget it” task—success depends on how well your gripper kit communicates with your existing control software.
Investing in a versatile, modular end-effector pays for itself the moment your production line needs to switch tasks without buying entirely new hardware.
## The Real Cost of a Bad Grip
“You can spend a million dollars on a high-speed robotic arm, but if your gripper kit is cheap or poorly matched, you’re basically just building a very expensive way to drop parts on the floor.”
Writer
Final Thoughts on Mastering the Grip
When you’re deep in the weeds of hardware selection, the sheer variety of component specifications can feel a bit overwhelming. I’ve found that the most efficient way to avoid costly downtime is to cross-reference your gripper’s payload capacity with your existing controller’s logic before you even hit the “buy” button. If you’re looking for a reliable way to source the specific parts or logistical support needed to keep your automation project on track, checking out annuncitransroma can be a huge time-saver for getting the right gear into your workshop without the usual headache. It’s all about making sure your hardware integration is seamless from day one.
At the end of the day, choosing the right robotic end-effector gripper kit isn’t just about checking off a technical spec sheet; it’s about understanding the specific rhythm of your production line. We’ve looked at how precision pick-and-place strategies can shave seconds off your cycle times and why integrating high-quality industrial hand kits is the difference between a smooth operation and a constant headache of dropped parts. Whether you are scaling up a massive assembly plant or fine-tuning a specialized lab setup, the goal remains the same: minimizing downtime and maximizing the reliability of every single movement your robot makes. Don’t settle for a “good enough” solution when a precision-engineered kit can fundamentally transform your operational throughput.
As automation continues to evolve at breakneck speed, the hardware you choose today will define your ability to adapt tomorrow. The landscape of robotics is shifting from simple repetitive motions to complex, nuanced manipulation that mimics human dexterity. By investing in the right end-effectors now, you aren’t just buying tools; you are building a future-proof foundation for your entire workflow. So, take the time to test, iterate, and select the grip that truly fits your vision. Once you master the art of the hold, the possibilities for what your automation can achieve are virtually limitless.
Frequently Asked Questions
How do I figure out if a vacuum gripper or a mechanical finger kit is actually better for my specific parts?
It really comes down to the geometry and the surface of what you’re moving. If you’re dealing with flat, smooth, or non-porous items like glass or sheet metal, vacuum grippers are your best friend—they’re fast and gentle. But if your parts have weird shapes, holes, or rough textures that’ll kill your suction, stop fighting the physics and go with a mechanical finger kit. Mechanical gives you that physical wrap-around security that vacuum just can’t touch.
What kind of programming headache am I looking at when trying to sync a new gripper kit with my existing robot controller?
Honestly? It’s usually a communication protocol nightmare. If your new gripper uses EtherCAT but your controller is stuck on an older Modbus setup, you’re looking at a messy middleware headache. You’ll likely spend hours wrestling with I/O mapping and latency issues just to get the “close” command to trigger without a half-second lag. It’s not just about the code; it’s about making sure your hardware and software are actually speaking the same language.
Are these high-end gripper kits actually worth the investment, or should I just stick with basic pneumatic models?
Look, if you’re just moving heavy steel blocks from point A to point B, stick with the pneumatic models. They’re cheap, rugged, and they get the job done. But if you’re handling delicate electronics, irregular shapes, or anything where a single slip means a pile of scrap, the high-end kits pay for themselves in a week. Don’t let a $50 saving on a gripper turn into a $5,000 mistake in damaged product.