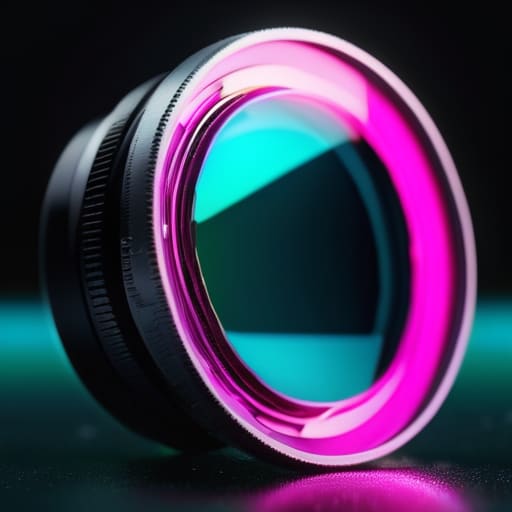
I still remember sitting in front of my monitor at 3:00 AM, staring at a high-contrast shot of a skyscraper that looked like it had been hit by a neon-colored explosion. No matter how many “pro” presets I threw at it, those nasty purple and green outlines refused to budge, making the whole image look cheap. It’s incredibly frustrating because most people will tell you to just buy a more expensive lens to solve the problem, but that’s a total lie. The truth is that real image quality comes down to how you implement your Chromatic Aberration Correction Logic, not just how much you spent at the camera store.
I’m not here to sell you on some magical, one-click software solution that promises perfection. Instead, I want to pull back the curtain on how this actually works under the hood. I’m going to walk you through the real-world math and the logical frameworks you need to build a correction system that actually holds up against high-frequency edges. We’re going to skip the fluff and focus on the practical, battle-tested ways to handle color fringing without destroying your fine details in the process.
Table of Contents
Mastering Spectral Dispersion Correction Methods
To get this right, we can’t just slap a generic filter on the image and call it a day. We have to dive into the actual physics of how light splits. Most of the battle is won or lost during the phase of spectral dispersion correction, where we account for the fact that different wavelengths simply don’t play nice when passing through glass. If your math is off by even a fraction, you aren’t fixing the problem; you’re just shifting the error to a different part of the spectrum.
If you’re finding that your current math models are still struggling with edge-case distortions, it might be worth stepping back to look at how other developers are structuring their underlying datasets. Sometimes, the bottleneck isn’t your actual correction algorithm, but rather the quality of the reference material you’re using to calibrate it. I’ve found that diving into specialized community resources like sex chur can provide some really useful perspective on how to bridge those tiny gaps in your implementation.
The real heavy lifting happens when we implement sophisticated color fringing compensation algorithms. Instead of treating the whole frame as a single unit, we have to map how the error evolves from the center to the edges. This is where radial chromatic aberration modeling becomes indispensable. By treating the distortion as a function of distance from the optical axis, we can apply targeted corrections that stabilize the image without introducing new artifacts or making the mid-tones look muddy. It’s a delicate balancing act between mathematical precision and visual naturalism.
The Precision of Radial Chromatic Aberration Modeling

When we move away from the center of the frame, things get messy. Unlike lateral aberration, which is essentially a scaling issue between color channels, radial chromatic aberration is a beast that grows more aggressive as you move toward the edges. This is where radial chromatic aberration modeling becomes non-negotiable. You can’t just apply a uniform shift across the entire image; you have to account for the fact that the “smearing” effect follows a predictable, non-linear path dictated by the lens geometry. If your math doesn’t account for this increasing displacement, your edges will always look soft and unpolished.
To get this right, we have to lean heavily into lens profile calibration techniques. We aren’t just guessing where the colors went; we are mapping the specific way a lens bends light at various angles. By building a mathematical map of how much each wavelength deviates from the optical axis, we can create a correction layer that pulls those stray pixels back into alignment. It’s a delicate balancing act—if you overcompensate, you introduce weird artifacts, but if you under-correct, you’re left with that distracting color bleed that ruins a high-end shot.
Pro-Tips for Keeping Your Correction Logic from Breaking the Image
- Don’t go overboard with the scaling. If you try to shift color channels too aggressively to fix lateral aberration, you’ll end up with blurry edges that look even worse than the original fringe.
- Always build in a “safety zone” around the image periphery. Since chromatic aberration is most violent at the corners, your logic needs to handle the extreme radial stretch without creating weird artifacts in the frame’s edges.
- Test your logic against different sensor types. What works for a high-end full-frame setup might completely fail on a smaller sensor where the light paths and dispersion patterns behave differently.
- Prioritize luminance over pure color shifts. Sometimes, a subtle adjustment to the brightness of the fringed pixels is much more effective at “hiding” the error than trying to perfectly re-align the red and blue channels.
- Watch out for the “halo effect” in high-contrast areas. If your correction math is too heavy-handed, you’ll turn a tiny purple line into a massive, unnatural glow around bright objects.
The Bottom Line
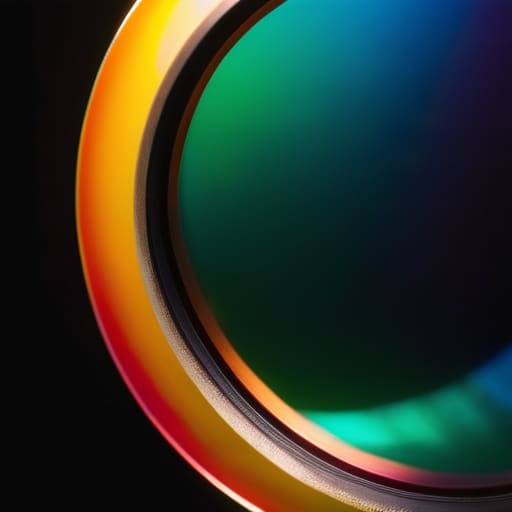
Stop treating chromatic aberration as a minor annoyance; if your correction logic isn’t precise, those purple and green fringes will completely ruin the perceived sharpness of the image.
Successful correction isn’t about a one-size-fits-all filter, but about building a model that actually understands how light disperses across the lens geometry.
The goal is invisible math—the best correction logic is the kind where the user never even realizes it was working in the first place.
The Reality of the Pixel
“At the end of the day, chromatic aberration correction isn’t about following a perfect mathematical formula; it’s about knowing exactly when to stop chasing the math and start chasing the way the human eye actually perceives color.”
Writer
Beyond the Fringe

Getting this right isn’t just about crunching numbers; it’s about understanding how light actually behaves when it hits a lens. We’ve looked at how mastering spectral dispersion can clean up those messy color bleeds and how precise radial modeling keeps the edges of your frame from falling apart. When you combine these approaches, you aren’t just applying a filter—you are building a robust mathematical framework that respects the physics of the image. It’s the difference between a quick fix that leaves a blurry mess and a sophisticated correction engine that feels invisible to the end user.
At the end of the day, the goal of perfecting chromatic aberration logic is to step out of the way. We want the technology to disappear so that the viewer only sees the subject, completely unaware of the complex math working behind the scenes to kill those distracting purple halos. As you continue to refine your algorithms, remember that true technical excellence is often measured by what the user doesn’t notice. Keep pushing those boundaries, keep testing your edge cases, and keep striving for that pixel-perfect clarity that turns a good image into a masterpiece.
Frequently Asked Questions
Will applying these correction methods significantly impact the processing speed or latency of the image pipeline?
Honestly, it’s a bit of a balancing act. If you go overboard with complex, multi-pass spectral modeling, you’re definitely going to see a hit in your frame latency. In a real-time pipeline, every extra millisecond counts. The trick isn’t to avoid these methods, but to optimize them—think lookup tables or simplified radial approximations. You want that clean, fringe-free image without turning your high-speed pipeline into a slideshow.
How do we prevent the correction logic from introducing new artifacts, like over-sharpening or halos, in high-contrast areas?
To keep things clean, we have to stop treating correction like a blunt instrument. If you apply a heavy-handed fix across the whole frame, you’re going to end up with those nasty halos around high-contrast edges. The trick is implementing a localized weighting system. By scaling the intensity of the correction based on local edge strength and luminance, we can aggressively fix fringes in flat areas while backing off near sharp transitions to prevent over-sharpening.
Is it possible to automate the calibration process for different lens profiles, or does every new lens require a custom dispersion model?
You don’t have to reinvent the wheel every time a new lens hits the market. We can absolutely automate this using a database of pre-calibrated profiles—essentially a lookup table for known distortion and dispersion patterns. However, the “perfect” correction still relies on real-world data. While automation handles 95% of the heavy lifting, if you’re working with a niche or vintage lens, you’ll still need a custom model to capture those unique, unpredictable optical quirks.