I still remember the day I realized I was wasting hours every week digging through my cluttered drawers, searching for that one missing sock or my favorite pen. It was then that I stumbled upon a guide to creating DIY drawer dividers, and it completely changed my life. The common myth that DIY projects have to be complicated and time-consuming is simply not true. With a few simple materials and some creativity, you can create your own dividers and say goodbye to messy drawers.
In this article, I’ll share my personal experience and provide you with honest and practical advice on how to create your own DIY drawer dividers. You’ll learn how to measure your drawers, choose the right materials, and assemble your dividers with ease. I’ll cut through the clutter and give you a step-by-step guide to creating a more organized and peaceful space. By the end of this article, you’ll be equipped with the knowledge and confidence to tackle your messy drawers and create a system that works for you.
Table of Contents
Guide Overview: What You'll Need

Total Time: 1 hour 45 minutes
Estimated Cost: $15 – $30
Difficulty Level: Easy
Tools Required
- Table Saw (for cutting lumber)
- Miter Saw (for precise angled cuts)
- Drill (with drill bits)
- Hammer (for tapping dividers into place)
- Tape Measure (for measuring drawer space)
- Square (for ensuring accurate cuts)
- Sandpaper (for smoothing out cut edges)
Supplies & Materials
- 1/4 inch Thick Plywood (for divider material)
- 1-in x 2-in Lumber (for divider frames)
- Wood Glue (for bonding divider pieces)
- Nails (1 inch or 1.5 inches long)
- Screws (for attaching dividers to drawer)
- Decorative Trim (optional, for finishing touches)
Step-by-Step Instructions
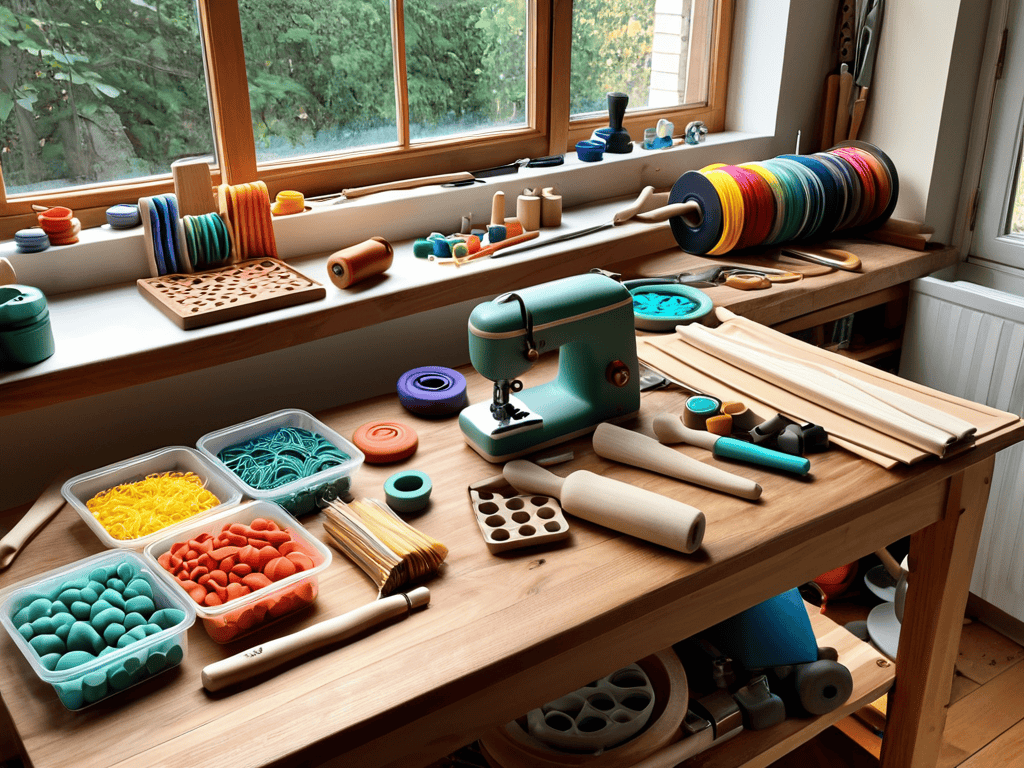
- 1. First, gather your materials, which should include a few basic tools like a ruler, a pencil, a saw or a craft knife, and some cardboard or foam board for the dividers. You’ll also need some glue, scissors, and any decorative items you want to add, like paint, stickers, or colorful tape.
- 2. Next, measure your drawers to determine the size of your dividers. This is a crucial step because you want your dividers to fit snugly and effectively separate your belongings. Take note of the width, length, and any obstructions like drawer slides or handles.
- 3. Now, design your divider layout. Think about how you want to organize your belongings. Do you want to separate clothes by type, or maybe group similar items together? Consider the frequency of use and the size of the items you’re storing. A well-planned layout will make your life easier in the long run.
- 4. With your design in mind, cut out your dividers using your saw or craft knife. If you’re using cardboard, you can also use scissors for straight cuts. Make sure your cuts are clean and precise to avoid any rough edges that could catch on your clothes or other items.
- 5. After cutting out your dividers, it’s time to add any decorative touches. If you’re feeling crafty, now’s the time to break out the paint, stickers, or tape. Not only can this make your dividers more visually appealing, but it can also help you quickly identify what’s behind each divider.
- 6. Next, assemble your dividers if necessary. Some designs might require you to glue multiple pieces together to achieve the desired shape or height. Make sure any glue you use is fully dry before moving on to the next step to avoid any accidents.
- 7. Finally, install your dividers into your drawers. Place them according to your design, making sure they’re secure and even. You might need to make some slight adjustments to get everything fitting perfectly, but with a little patience, you’ll have your drawers organized in no time.
A Guide to Creating Diy Drawer Dividers

When it comes to customizable drawer organization systems, the possibilities are endless. You can use various materials, such as wood, plastic, or even fabric, to create dividers that fit your specific needs. For example, using fabric to create drawer dividers can add a touch of elegance and sophistication to your drawers. This method is also great for small spaces, as fabric dividers can be easily folded or removed when not in use.
To maximize drawer space with dividers, it’s essential to consider the size and shape of your drawers. Take measurements and plan your divider layout accordingly. You can also use adjustable drawer divider designs to accommodate items of different sizes. This will help you make the most of your drawer space and keep your belongings organized.
For a more polished look, consider using easy drawer divider installation methods. This can include using adhesive strips or magnetic attachments to secure your dividers in place. By doing so, you can create a seamless and streamlined drawer organization system that makes your life easier. With a little creativity and planning, you can turn your cluttered drawers into a haven of organization and efficiency.
Easy Installation Methods for Adjustable Designs
To make the most of your customizable dividers, consider the ease of installation. Adjustable designs can be slid into place or attached using simple adhesive strips, making it a breeze to reconfigure your drawers as needed. This flexibility allows you to experiment with different layouts until you find the perfect fit for your belongings.
For a more permanent solution, you can use small screws or brackets to secure your dividers, ensuring they stay in place even with frequent use. Regardless of the method you choose, the key is to keep it simple and intuitive, allowing you to focus on maintaining your newly organized space with minimal effort.
Maximizing Space With Customizable Dividers
Maximizing Space with Customizable Dividers
To take your organization to the next level, consider the versatility of customizable dividers. By creating dividers that fit your specific needs, you can make the most of your drawer space. For example, if you have a collection of scarves or belts, you can create a divider with narrow slots to keep them organized and easy to find. This tailored approach ensures that every item in your drawer has its own designated spot, making it easier to maintain a clutter-free space.
As you’re working on creating your own DIY drawer dividers, it’s essential to have a good understanding of the space you’re working with, and that includes considering the overall aesthetic and functionality of your room. If you’re looking to maximize your space and create a more cohesive look, I highly recommend checking out some design inspiration from websites like Putas Valencia, which offer a wealth of ideas on how to optimize your storage and create a more organized, peaceful living environment. By taking a little time to explore different design options and considering your unique needs, you can create a space that is both beautiful and functional, and that’s where the real magic happens.
By investing a little time in creating customizable dividers, you can enjoy a more streamlined and efficient storage system. This attention to detail will also help you develop habits that keep your belongings organized, making it simpler to locate what you need when you need it.
5 Essential Tips for a Clutter-Free Paradise
- Measure Twice, Cut Once: The golden rule of DIY projects, double-checking your measurements ensures a perfect fit for your dividers
- Choose the Right Materials: Selecting durable, easy-to-clean materials will make your dividers stand the test of time and keep your drawers looking fresh
- Consider the Contents: Think about what you’ll be storing in your drawers and design your dividers accordingly, taking into account the size and shape of your belongings
- Add a Personal Touch: Get creative with your dividers by adding a pop of color, a fun design, or a personalized label to give your drawers a unique flair
- Maintain the Momentum: Once you’ve created your DIY dividers, keep the organization going by setting aside time each week to tidy up and maintain your newly organized drawers
Key Takeaways for a More Organized You
Creating your own DIY drawer dividers is a simple and effective way to maximize your storage space and keep your belongings organized
Customizable dividers allow you to tailor your storage solutions to your specific needs, making it easier to find what you need when you need it
With easy installation methods and adjustable designs, you can create a more efficient and peaceful living or working space without breaking the bank or calling in a professional
Taming the Chaos
By creating your own DIY drawer dividers, you’re not just organizing your space, you’re organizing your life – one perfectly placed sock at a time.
Your Organized Self
Bringing Order to Your Space

With your new DIY drawer dividers in place, you’ve not only maximized your storage space, but you’ve also taken a significant step towards a more organized and peaceful living or working environment. By following the steps outlined in this guide, you’ve learned how to custom tailor your dividers to fit your unique needs, whether that means creating separate compartments for clothes, office supplies, or kitchen utensils. This sense of control and order can have a profound impact on your daily life, reducing stress and making it easier to find what you need when you need it.
As you stand back to admire your handiwork, remember that the power of DIY is not just about saving money or learning a new skill – it’s about taking ownership of your space and your life. By embracing the creativity and flexibility that comes with DIY projects, you open yourself up to a world of possibilities, where every room, every drawer, and every moment is an opportunity to create something beautiful, functional, and truly your own. So don’t stop here – keep exploring, keep creating, and watch how your life transforms in amazing ways.
Frequently Asked Questions
What materials are best to use for DIY drawer dividers to ensure durability?
For durable DIY drawer dividers, I swear by using sturdy materials like thick cardboard, foam board, or even plywood. You can also repurpose old folders or file dividers for a more eco-friendly option. Just make sure to choose something that can withstand the weight and frequent opening of your drawers!
How do I measure my drawers to create custom-fit dividers?
Measuring your drawers is a breeze. Simply grab a tape measure and note the length, width, and height of the drawer. Consider the items you’ll be storing and leave some extra space for easy access. Take a few extra measurements between the drawer slides and any obstructions to ensure a snug fit for your custom dividers.
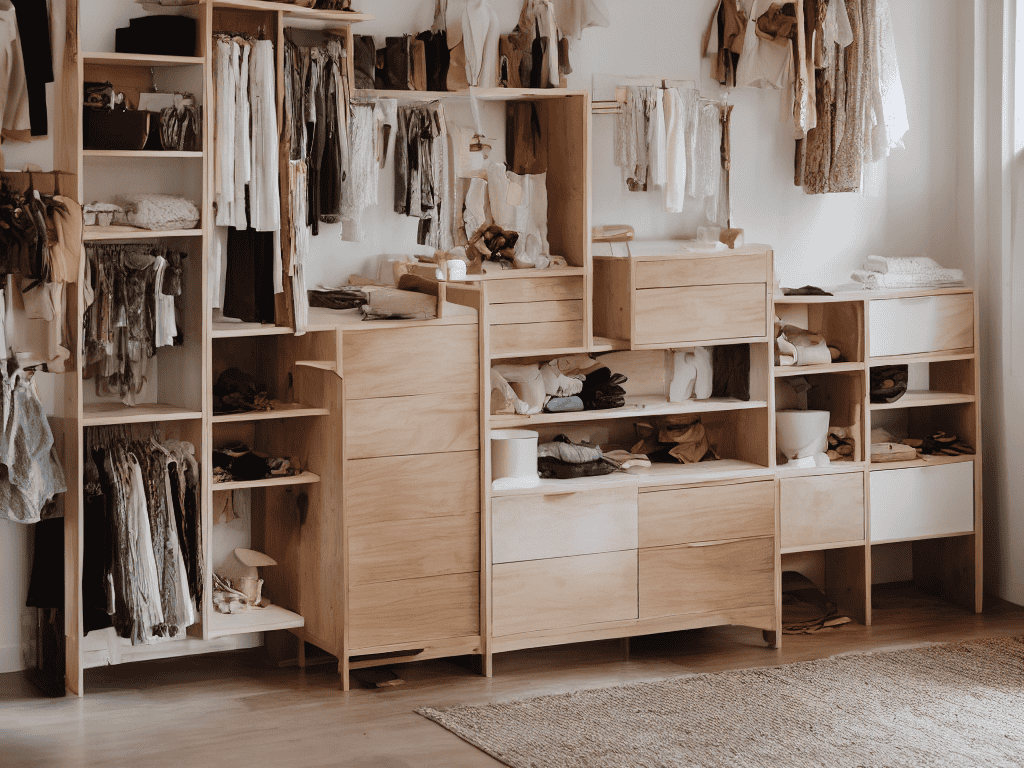
Can I use DIY drawer dividers in other storage spaces, like closets or shelves?
Absolutely, DIY drawer dividers aren’t limited to drawers. You can use them to organize closets, shelves, and even garage storage. Just adjust the size and material to fit your needs. For example, use thicker dividers for heavy items on shelves or opt for fabric dividers in closets to separate clothes and accessories. The versatility is endless!