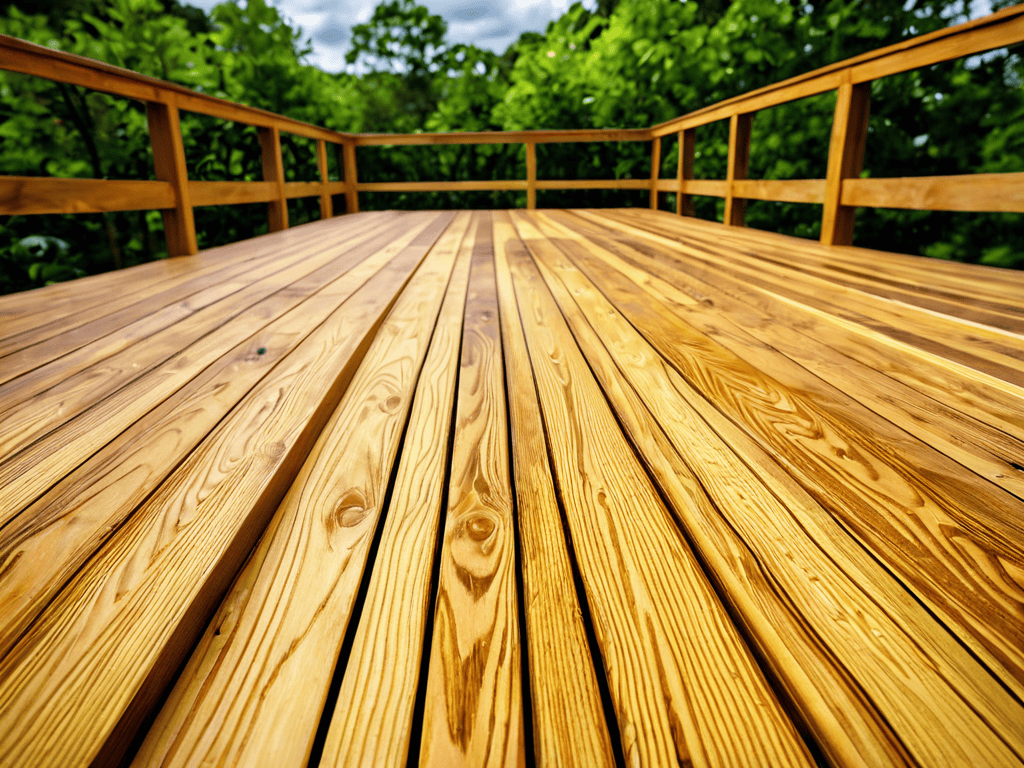
I still remember the day I decided to breathe new life into my old deck – it was a daunting task, but the end result was well worth it. The process of refinishing a deck can be intimidating, especially with all the conflicting advice out there. Many people believe that refinishing a deck is a massive undertaking that requires a lot of time and money, but I’m here to tell you that’s not entirely true. With the right guidance, refinishing a deck can be a manageable and rewarding DIY project.
In this article, I’ll share my personal experience and no-nonsense advice on how to refinish a deck. You’ll learn how to assess the condition of your deck, choose the right materials, and apply a fresh coat of sealant to protect it from the elements. I’ll walk you through each step of the process, from preparation to completion, and provide you with practical tips to ensure a successful outcome. By the end of this guide, you’ll be equipped with the knowledge and confidence to tackle your deck refinishing project and enjoy your outdoor space for years to come.
Table of Contents
Project Overview
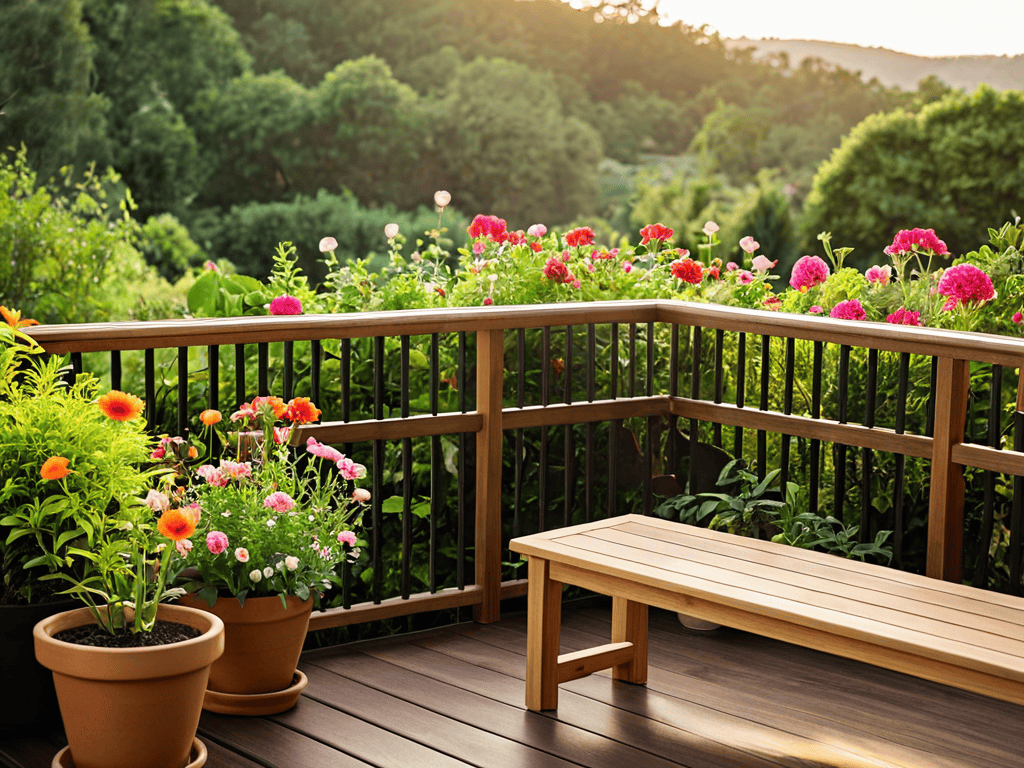
As you’re working on refinishing your deck, it’s essential to consider the overall aesthetic you want to achieve, and that includes the surroundings. If you’re looking to create a truly unique outdoor space, you might want to think about incorporating elements that reflect your personal style, such as outdoor decor or even a small garden. For those who are looking for inspiration, there are plenty of resources available online, including websites that offer a wide range of ideas and tips for creating the perfect outdoor oasis. For example, you can visit sex in hamburg to explore different concepts and find what works best for you, and then focus on bringing your vision to life with the right materials and design choices.
Total Time: 2 days to 1 week
Estimated Cost: $500 – $2000
Difficulty Level: Intermediate / Hard
Tools Required
- Pressure Washer ((for cleaning the deck))
- Orbital Sander ((for smoothing out wood))
- Paintbrushes ((various sizes))
- Roller Extension Pole ((for applying stain or sealant))
- Utility Knife ((for cutting deck boards))
- Drill ((for screwing in new deck boards))
- Measuring Tape ((for measuring deck boards))
- Square ((for ensuring deck boards are properly aligned))
- Safety Glasses ((for protecting eyes from debris))
- Gloves ((for protecting hands from splinters and chemicals))
Supplies & Materials
- 2-in x 6-in lumber ((for replacing rotten deck boards))
- Deck Screws ((for securing new deck boards))
- Wood Filler ((for filling in gaps and holes))
- Sandpaper ((for smoothing out wood))
- Deck Stain or Sealant ((for protecting the deck from the elements))
- Wood Cleaner ((for cleaning the deck before refinishing))
- Rags ((for wiping up spills and cleaning tools))
Step-by-Step Instructions
- 1. First, prepare your deck for the refinishing process by clearing the area of any furniture, plants, or other items that could get in the way or be damaged by the refinishing process. Sweep the deck to remove any debris, dirt, or leaves that may have accumulated, and check for any loose boards or nails that need to be secured.
- 2. Next, assess the condition of your deck to determine the best course of action for refinishing. Look for any signs of damage, such as cracks, splits, or rot, and make a note of any areas that will need special attention. This will help you decide which repairs need to be made before you can start refinishing.
- 3. Now it’s time to clean the deck thoroughly to remove any dirt, grime, or mildew that may have built up. Use a pressure washer to blast away any tough stains or debris, and then let the deck dry completely before moving on to the next step. Be careful not to use too much pressure, which can damage the wood.
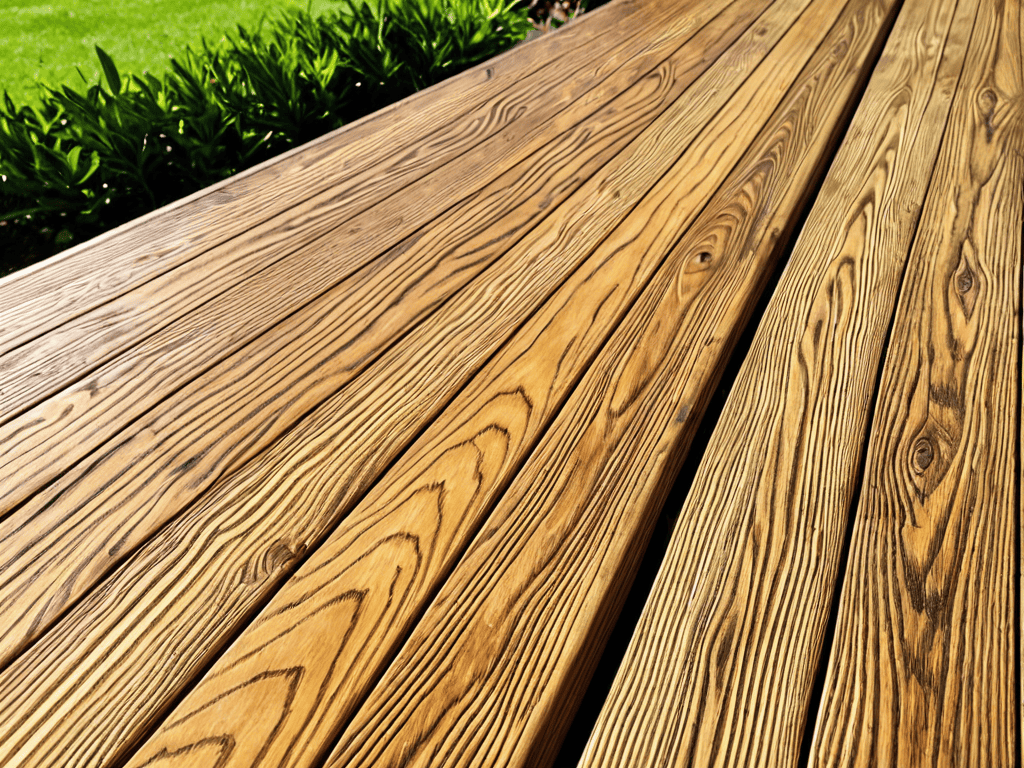
- 4. With the deck clean and dry, you can start sanding down the wood to smooth out any rough spots and remove any old finish that may still be present. Start with a coarse-grit sandpaper and work your way up to a finer grit to get the wood as smooth as possible. This will help the new finish adhere evenly and look its best.
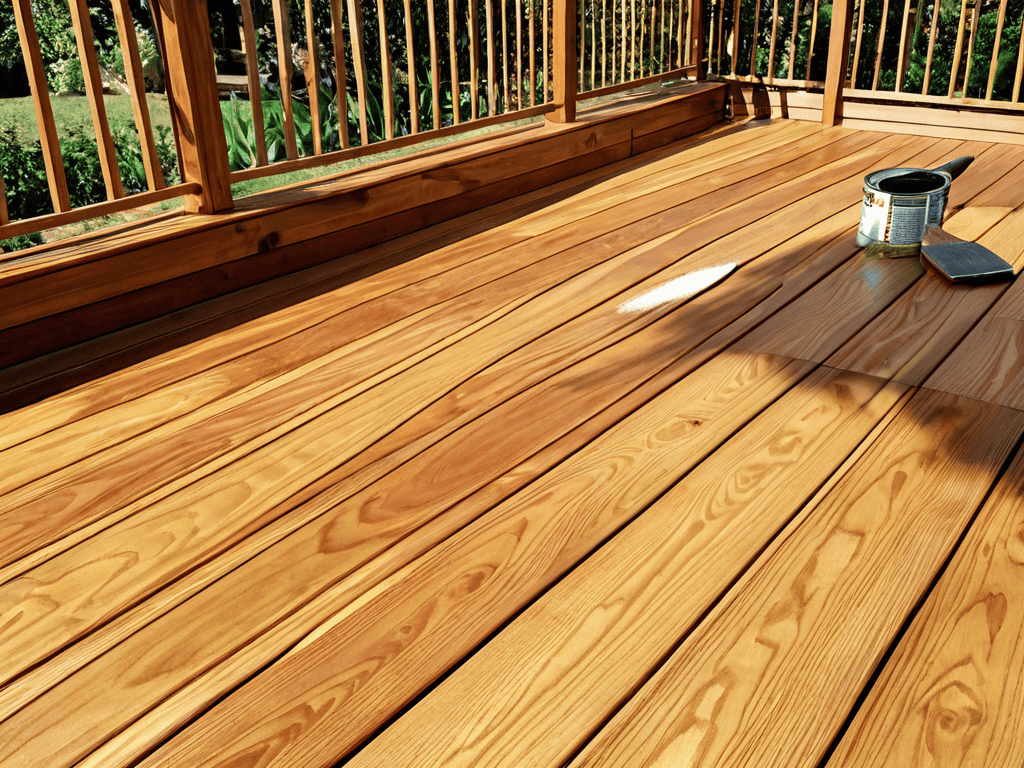
- 5. Once the deck is sanded, you can start applying a new finish. Choose a finish that’s suitable for outdoor use and follows the manufacturer’s instructions for application and drying times. Apply the finish evenly, using a roller or brush to cover the entire deck, and make sure to work in small sections to maintain even coverage.
- 6. After the first coat of finish is dry, inspect the deck to see if a second coat is needed. If the finish looks uneven or the wood is still visible, apply a second coat, following the same process as before. Make sure to let the finish dry completely between coats to avoid any problems with the finish.
- 7. Finally, add a sealant to protect the deck from the elements and extend the life of the new finish. Choose a sealant that’s compatible with your finish and follow the manufacturer’s instructions for application. Apply the sealant evenly, making sure to cover all surfaces, and let it dry according to the instructions before putting the deck back into use.
Refinishing a Deck
When it comes to giving your deck a makeover, considering the costs is crucial. Deck refinishing costs can vary greatly depending on the materials and size of your deck. To save money, consider shopping around for the best deck stain for durability, as a high-quality stain can make a significant difference in the long run. Additionally, if you have pressure treated wood, make sure to follow the manufacturer’s maintenance instructions to ensure its longevity.
As you work on your deck, you may encounter damaged or rotten boards that need to be replaced. Deck board replacement tips can be found online, but it’s essential to take your time and do it correctly to avoid any safety hazards. When replacing boards, consider adding outdoor deck lighting ideas to enhance the ambiance and safety of your deck, especially if you plan to use it during the evening hours.
To complete your deck’s transformation, don’t forget to inspect and repair your deck railing. Deck railing repair techniques can be a bit tricky, but with the right tools and patience, you can achieve professional-looking results. By following these extra tips and considering the overall maintenance of your deck, you can enjoy your outdoor space for years to come.
Best Deck Stain for Durability Found
When it comes to durability, not all deck stains are created equal. After scouring the market and reading countless reviews, I’ve found that a high-quality, oil-based stain is the way to go. These stains penetrate deep into the wood, providing a robust barrier against the elements. Look for a stain with a high solids content and UV protectants to ensure your deck stays protected and looking great for years to come.
Some popular options include stains from brands like Behr and Olympic. These stains have consistently received high marks for their durability and water resistance. By choosing the right stain, you can add years to the life of your deck and enjoy it for seasons to come.
Deck Board Replacement Tips Inside
When tackling deck refinishing, it’s not uncommon to encounter rotten or damaged boards that need replacement. To ensure a seamless integration with the rest of the deck, choose replacement boards that match the original material and width as closely as possible. Remove the old boards carefully to avoid damaging the surrounding structure, and consider numbering them to simplify the reinstallation process.
For a sturdy and long-lasting repair, pre-drill screw holes in the new boards to avoid splitting the wood. Use galvanized or stainless steel screws to secure the boards, and apply a small amount of wood glue to the joints for added stability.
5 Essential Tips to Achieve a Professional-Looking Refinish
- Always prepare your deck surface by cleaning it thoroughly and filling any gaps or holes to ensure a smooth finish
- Choose the right stain or sealant for your deck based on the type of wood, climate, and desired color to maximize durability
- Apply thin, even coats of stain or sealant, allowing each coat to dry completely before applying the next one to prevent peeling or flaking
- Consider replacing any damaged or rotten deck boards before refinishing to prevent further damage and ensure safety
- Regularly inspect and maintain your refinished deck to catch any signs of wear or damage early, and make repairs as needed to extend its lifespan
Key Takeaways for a Successful Deck Refinishing
Always prepare your deck surface before applying any new finishes, including cleaning and sanding to ensure a smooth and even finish
Choose the right deck stain for durability, considering factors such as weather resistance, UV protection, and mold/mildew resistance to maximize the lifespan of your deck
Regular maintenance is crucial after refinishing, including periodic inspections and touch-ups to prevent damage and keep your deck looking its best for years to come
A Labor of Love
Refinishing a deck isn’t just about slapping on a new coat of stain, it’s about reviving the heartbeat of your outdoor space where memories are made and stories are told.
Your Deck Revivalist
Conclusion
As we wrap up this journey of refinishing a deck, it’s essential to remember the basics: preparing the surface, choosing the right stain, and applying it with care. We’ve also delved into the world of deck board replacement, highlighting the best deck stain for durability and providing valuable tips for a successful project. By following these steps and considering the factors mentioned, you’ll be well on your way to transforming your outdoor space into a beautiful and functional area.
So, as you stand back to admire your handiwork, take pride in knowing that you’ve not only brought your deck back to life but also created a space where memories will be made. With your newly refinished deck, you’ll be able to host gatherings, enjoy quiet evenings, and make the most of your outdoor space. The sense of accomplishment that comes with a DIY project like this is unparalleled, and we hope that this guide has inspired you to take on the challenge and reap the rewards of your hard work.
Frequently Asked Questions
What are the most common mistakes to avoid when refinishing a deck?
Refinishing a deck can be a DIY dream or nightmare – it all depends on avoiding those pesky common mistakes. Don’t skip the prep work, or you’ll be re-doing it in no time. And please, for the love of all things wooden, don’t over-sand or apply too much stain at once – it’s a recipe for disaster!
How often should I refinish my deck to maintain its durability and appearance?
Refinishing your deck depends on usage and weather conditions, but a good rule of thumb is to refinish every 2-3 years for high-traffic decks and every 4-5 years for low-traffic ones, or when you notice significant wear and tear.
Can I refinish my deck during any time of the year or are there specific seasons that are more suitable?
Honestly, the best time to refinish your deck is during mild weather, like spring or fall, when it’s not too hot or cold. Avoid refinishing in direct sunlight or during rainy seasons, as it can affect the stain’s quality and drying time.