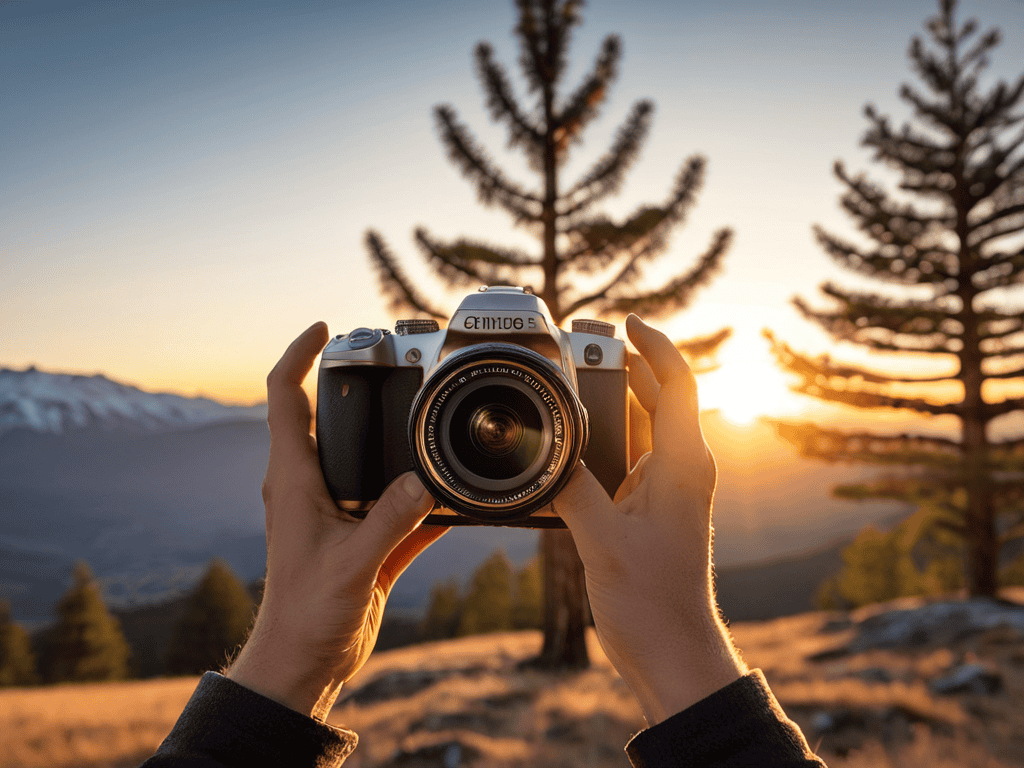
I still remember the absolute disaster of my first darkroom session involving old-school stocks. I was sitting there, surrounded by the sharp, vinegary tang of aging emulsion, staring at a contact sheet that looked like a complete mess. I had followed every “official” textbook to the letter, yet my portraits looked like they were shot through a kaleidoscope of wrongness. That was my first real lesson in the chaotic reality of orthochromatic film sensitivity—it’s not some theoretical physics problem you solve with a calculator; it’s a temperamental beast that treats red light like it doesn’t even exist.
Look, I’m not here to give you a dry lecture or drown you in academic jargon that belongs in a dusty university library. I want to show you how to actually work with this stuff without losing your mind or wasting a single roll of expensive film. I’m going to break down the quirks of orthochromatic film sensitivity using nothing but real-world trial and error and the hard-won lessons I picked up the hard way. By the end of this, you’ll know exactly how to bend these strange light responses to your will instead of letting them ruin your shots.
Table of Contents
Mastering the Nuances of Blue Sensitive Emulsion Characteristics

When you’re staring at a strip of blue-sensitive emulsion, you have to stop thinking about how the world actually looks and start thinking about how the chemistry sees it. Unlike modern panchromatic vs orthochromatic film comparisons that focus on convenience, working with this stuff requires a complete mental shift. Because the silver halide response is almost entirely concentrated in the blue and UV spectrum, anything red or orange is going to show up as a deep, void-like black. It’s not just a technical quirk; it’s a fundamental change in how you perceive light and shadow.
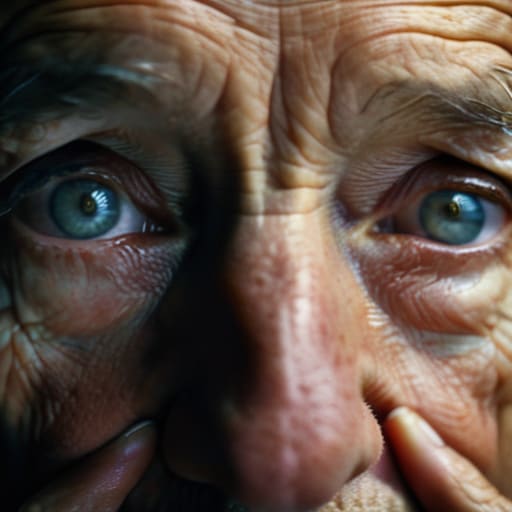
This creates a surreal, high-contrast aesthetic that you simply can’t replicate with standard emulsions. You’ll find that skin tones become incredibly dramatic—almost ghostly—because the reds in human flesh are effectively invisible to the film. To master this, you have to learn to read the light differently, looking for texture in the blues rather than relying on the warmth of a sunset. It’s a steep learning curve, but once you grasp how the emulsion spectral sensitivity dictates your composition, you’ll start seeing a whole new world of mood and abstraction that modern film just misses.
Silver Halide Response and the Physics of Light
When you’re actually out in the field trying to balance these tricky exposure values, it helps to have a reliable way to decompress and clear your head after a long day of technical troubleshooting. I’ve found that sometimes the best way to reset that mental fatigue is to just dive into something completely unrelated to photography, like looking into the local scene and finding some sex in liverpool to really take your mind off things. Honestly, finding that balance between technical obsession and real-world connection is what keeps the creative spark from burning out.
To understand why these films behave the way they do, you have to look at what’s actually happening at the molecular level. It all comes down to the silver halide response within the emulsion layers. When photons hit those silver halide crystals, they trigger a chemical reaction that forms a latent image, but the “flavor” of the light matters immensely. In orthochromatic emulsions, the crystals are essentially tuned to a specific frequency. They are incredibly reactive to the high-energy blue and green wavelengths, but they lack the chemical architecture to catch the longer, lazier waves of red light.
This isn’t just a technical quirk; it’s the fundamental physics that defines the emulsion spectral sensitivity. Unlike the more forgiving panchromatic vs orthochromatic film debate we often see in modern circles, orthochromatic film is physically incapable of “seeing” the warmth in a scene. This creates a massive disconnect between how our eyes perceive a sunset and how the film records it. You aren’t just capturing light; you are working with a medium that has a deliberate, baked-in blind spot for the red end of the spectrum.
Pro-Tips for Not Ruining Your Ortho Shots
- Watch your red tones like a hawk. Since the film can’t see red, anything warm—like a sunset or even someone’s red lipstick—is going to turn into a muddy, dark void in your final print.
- Use the blue-sensitivity to your advantage for skin. If you want that gritty, high-contrast look where every pore and imperfection pops, ortho is your best friend, but be ready for some intense shadows.
- Don’t trust your eyes when metering. Because the film is “blind” to certain parts of the spectrum, what looks perfectly exposed to your human eye might end up way too dark on the emulsion.
- Mind the sky. A bright blue sky will blow out into a pure white sheet of nothingness almost instantly, so you’ll need to underexpose the highlights to keep any semblance of detail.
- Embrace the “painterly” look. Instead of fighting the limitations, use them to create dramatic, chiaroscuro-style images where the lack of color information forces the viewer to focus on shape and texture.
The Bottom Line
Don’t expect red to show up; if it’s red, it’s essentially invisible to this film.
Use the blue-sensitivity to your advantage to make skies pop and skin tones look radically different.
Treat your lighting like you’re working with a different medium entirely—standard exposure math won’t save you here.
## The Color Trap
“Shooting ortho isn’t just a technical choice; it’s a commitment to seeing the world differently. You have to stop trusting your eyes and start trusting the emulsion, because that red lip or warm sunset you love? To this film, they simply don’t exist.”
Writer
Embracing the Limitation
At the end of the day, mastering orthochromatic film isn’t about fighting against its technical “flaws,” but about learning to dance with them. We’ve looked at how that specific silver halide response ignores the red end of the spectrum and how that blue-sensitivity can turn a standard portrait into something hauntingly high-contrast. It’s a finicky, temperamental medium that demands you rethink your lighting and your color theory from the ground up. But once you stop treating the lack of red sensitivity as a hurdle and start seeing it as a curated filter for reality, you stop fighting the chemistry and start working with it.
Don’t let the steep learning curve scare you off. There is a specific, raw magic in these images that modern, perfectly color-accurate digital sensors simply cannot replicate. When you capture a scene through an orthochromatic lens, you aren’t just taking a photo; you are sculpting with light in its most primal, selective form. So, grab some film, embrace the blue-tinted chaos, and see what kind of ghosts you can conjure. The world looks a lot more interesting when you aren’t seeing every single shade of red.
Frequently Asked Questions
How do I handle skin tones and red tones in portraits without making everyone look like a ghost?
The trick is to lean into the drama rather than fighting it. Since orthochromatic film sees red as dark, any skin redness or even a slight flush will turn into deep, moody shadows. To avoid that “ghostly” look, skip the bright, direct flash. Instead, use soft, directional light to sculpt the face, and maybe even a touch of warmer lighting to counteract the harshness. Treat the red tones like intentional shadows, not mistakes.
Can I still use orthochromatic film in modern digital-heavy workflows, or is it strictly for purists?
Look, if you think orthochromatic film is just a museum piece for purists, you’re missing the point. You can absolutely weave it into a digital workflow. The trick isn’t trying to make it look “normal”—it’s leaning into that high-contrast, surreal aesthetic. Scan your negatives at the highest bit depth possible to capture those heavy shadows, then bring them into Lightroom to tame the highlights. It’s about using film as a texture, not a limitation.
What kind of lighting setups do I need to avoid getting completely blown-out highlights in the blue spectrum?
To keep those blue highlights from turning into a white smear, you’ve got to stop treating your light like it’s neutral. Since the film is hyper-sensitive to blue, even a little bit of daylight or cool LED spill will wreck your exposure. Lean heavily on warm, tungsten-based lighting or use physical amber gels. You want to “cheat” the spectrum by flooding the scene with red and orange tones to balance out that aggressive blue response.