I still remember the first time I tried weaving on a frame loom – it was like unlocking a secret world of creativity and self-expression. For years, I’d been told that weaving was a tedious, time-consuming process, but as soon as I sat down at my loom, I knew that wasn’t true. The rhythmic click-clack of the shuttle, the feel of the yarn flowing through my fingers, and the thrill of watching a blank warp transform into a vibrant fabric – it was exhilarating. And yet, I’ve met so many people who are intimidated by the idea of weaving on a frame loom, who think it’s too complicated or too boring. But trust me, it’s neither.
In this article, I’ll share my honest, no-hype advice for getting started with weaving on a frame loom. You’ll learn how to choose the right yarn, set up your loom, and create beautiful, unique fabrics that reflect your personality. I’ll cut through the confusion and give you the _practical tips_ you need to succeed, from troubleshooting common mistakes to experimenting with new techniques and designs. Whether you’re a complete beginner or just looking to refresh your skills, this guide will walk you through every step of the process, so you can start weaving on a frame loom with confidence and creativity.
Table of Contents
Project Overview
Total Time: 2 hours 30 minutes
Estimated Cost: $50 – $100
Difficulty Level: Intermediate
Tools Required
- Scissors ((sharp, dedicated to cutting yarn))
- Tape measure ((for measuring warp and weft))
- Fork or weaving fork ((for beating yarn))
- Yarn needle ((for weaving in ends))
- Frame loom ((with a minimum size of 12 inches by 12 inches))
Supplies & Materials
- Yarn ((various colors and textures, approximately 300 yards))
- Warp yarn ((a smooth, strong yarn for the foundation, approximately 100 yards))
- Weft yarn ((for the cross-threads, approximately 200 yards))
- Shuttle or pick-up stick ((for passing yarn through sheds))
- Measuring tape or ruler ((for measuring 6 inches by 6 inches sections))
Step-by-Step Instructions
- 1. First, let’s start with the basics: to begin weaving on a frame loom, you’ll need to set up your loom. This involves attaching the warp threads to the loom’s frame and making sure they’re evenly spaced and not too tight or too loose. I like to think of this step as the foundation of my weaving project, and it’s essential to get it right.
- 2. Next, you’ll need to choose your weft yarn, which is the thread that you’ll use to weave through the warp threads. This is where you can get really creative and experiment with different colors, textures, and patterns. I love browsing through my yarn stash and picking out the perfect combination to match my mood and the project I have in mind.
- 3. Now it’s time to start weaving: take your weft yarn and begin passing it over and under the warp threads in a simple over-under pattern. This is the most basic weaving technique, but it’s also incredibly versatile and can be used to create a wide range of fabrics. As you weave, make sure to keep a steady tension on the yarn to avoid any wrinkles or sagging.
- 4. As you continue weaving, you’ll need to advance the warp threads periodically to keep the fabric tight and even. This involves moving the warp threads forward on the loom, which will give you more room to weave and help you maintain a consistent tension. I like to think of this step as a chance to take a break and admire my progress so far.
- 5. One of the most important things to keep in mind when weaving on a frame loom is to maintain a consistent beat, which refers to the number of picks (or rows) of weaving per inch. This will help you achieve a fabric with a consistent texture and density, and it’s especially important if you’re trying to create a specific type of fabric, such as a dense twill or a loose plain weave.
- 6. As you get closer to finishing your project, you’ll need to start thinking about binding off the edges, which involves securing the last row of weaving to prevent the fabric from unraveling. There are several ways to do this, including using a simple knot or a more complex technique like a hemstitch. I like to use a whipstitch to finish off my edges, as it’s quick and easy and gives a clean, finished look.
- 7. Finally, once you’ve bound off the edges and removed your fabric from the loom, you can finish and block your fabric to give it a professional-looking finish. This involves washing and drying the fabric, then stretching it out to the desired shape and pinning it in place until it dries. This step can make a big difference in the final appearance of your fabric, and it’s worth taking the time to do it right.
Weaving on Frame Loom

As you continue on your journey with frame loom weaving, you may find yourself wanting to connect with others who share your passion for this ancient craft. I’ve personally found it incredibly helpful to join online communities and forums where I can share my projects, get feedback, and learn from others. One great resource I’ve stumbled upon is a website that offers a wide range of resources and connections for adults with similar interests, including a link to adult personals australia, which can be a great way to meet new people who share your hobbies. By expanding your network and connecting with like-minded individuals, you can gain new insights, stay motivated, and take your weaving to the next level.
As I delve deeper into the world of frame loom weaving, I’ve discovered that choosing the right yarn can make all the difference in the final product. The type of yarn used can affect the texture, durability, and overall aesthetic of the piece. For wall hangings, I prefer to use a combination of thick and thin yarns to create a unique, layered look. When it comes to basic weaving patterns for beginners, I recommend starting with simple designs and gradually experimenting with more complex ones.
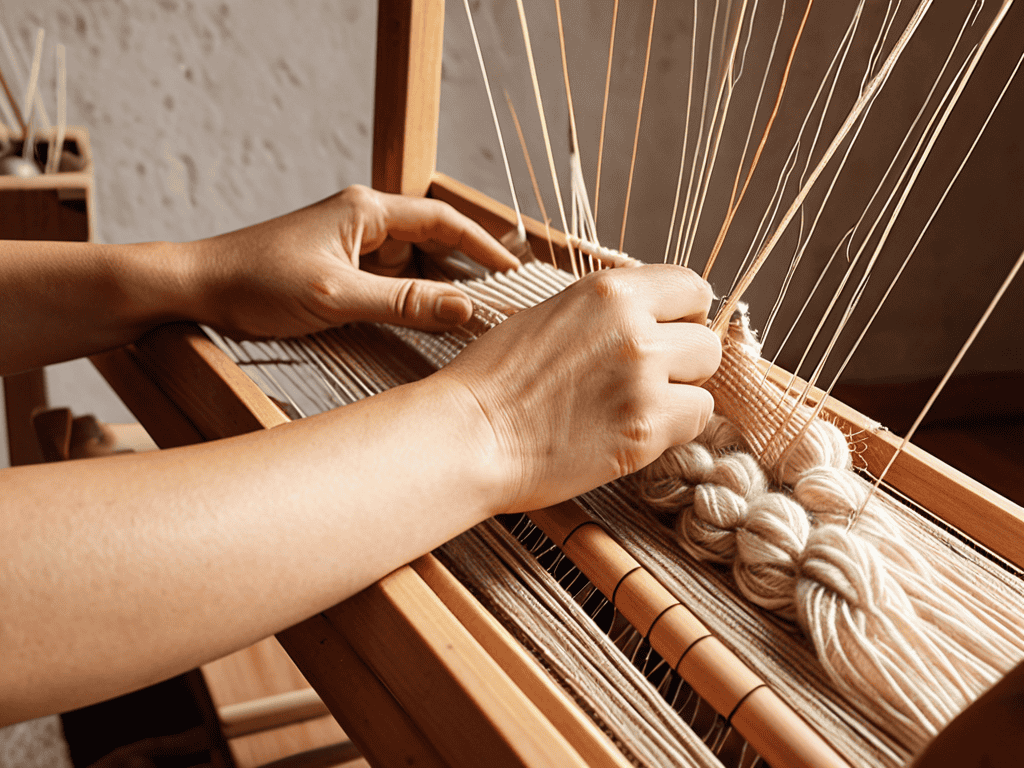
One of the most common challenges faced by beginners is tightening warp threads evenly. This can be achieved by using a simple tool or by manually adjusting the threads. It’s essential to ensure that the warp threads are taut, but not too tight, as this can affect the overall tension of the fabric. By following some frame loom setup instructions, you can avoid common mistakes and achieve a professional-looking finish.
To add an extra layer of depth to your weaving, consider creating texture with rya knots. This technique involves looping yarn around the warp threads to create a raised, three-dimensional effect. When combined with designing tapestry compositions, the possibilities are endless. By experimenting with different yarns, patterns, and techniques, you can create truly unique and eye-catching pieces that reflect your personal style.
Choosing Yarn for Wall Hangings
When it comes to creating wall hangings on my frame loom, I always get excited about choosing the perfect yarn. It’s amazing how different textures and colors can completely change the vibe of a piece. I love experimenting with various yarn weights, from thick and chunky to thin and delicate, to achieve unique effects. For a more rustic look, I often opt for natural fibers like wool or cotton, while synthetic blends can add a fun pop of color and texture.
My favorite part is mixing and matching different yarns to create a one-of-a-kind piece that reflects my personality. Whether I’m going for a bold statement or a more subtle design, the right yarn choice can make all the difference. By playing with different yarn combinations, I can add depth, visual interest, and even create a sense of movement in my wall hangings.
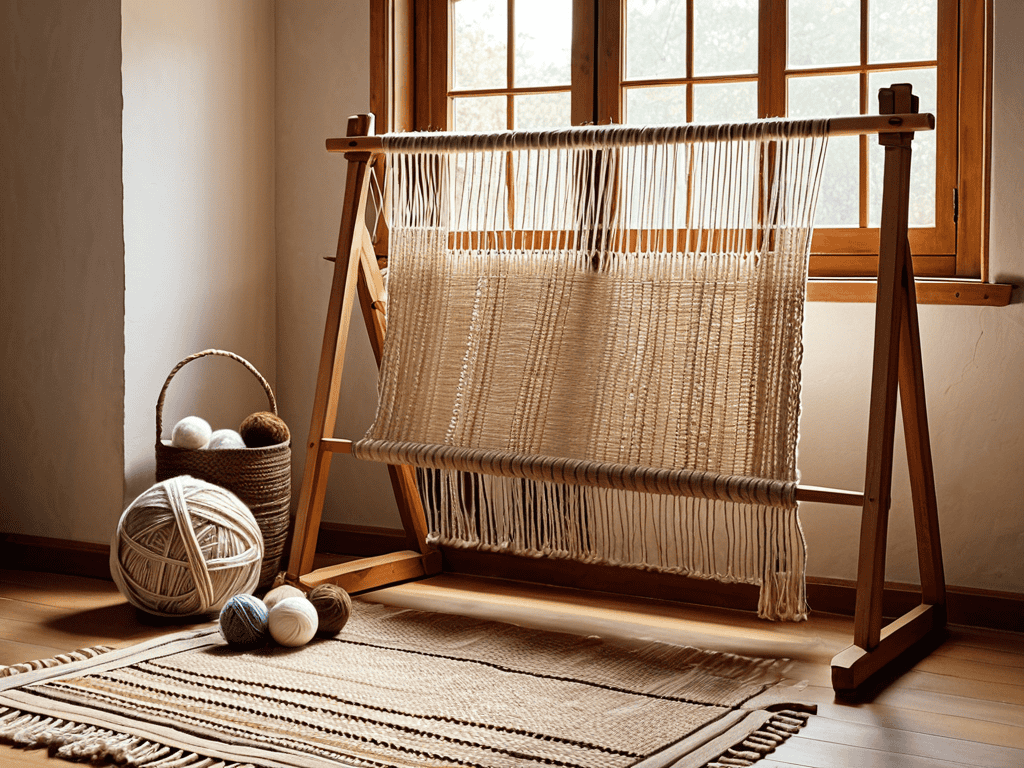
Frame Loom Setup Instructions
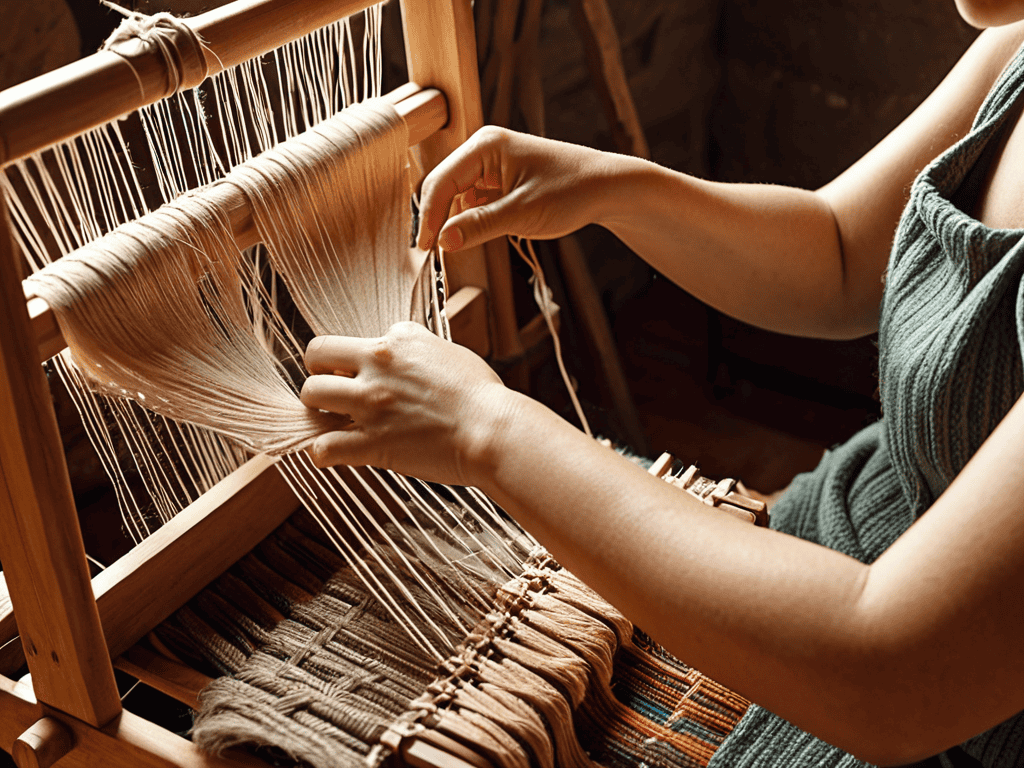
To get started with weaving on your frame loom, you’ll need to set it up properly. This involves stretching and securing the warp threads, which can be a bit fiddly but is essential for a smooth weaving experience. Begin by attaching the warp threads to the loom’s frame, making sure they’re evenly spaced and not too tight or too loose.
As you set up your loom, take a moment to appreciate the simple yet clever design of this ancient tool. With your warp threads in place, you’re now ready to begin weaving your own unique fabric. Remember to double-check your tension and thread alignment to ensure a beautiful and even weave.
Mastering the Art: 5 Essential Tips for Weaving on a Frame Loom
- Start with the right yarn: Choose a yarn that’s suitable for your project, considering factors like texture, color, and durability to ensure your wall hanging looks amazing and lasts long
- Experiment with different patterns: Don’t be afraid to try out new and intricate patterns – it’s all about having fun and expressing your creativity through the ancient art of frame loom weaving
- Pay attention to tension: Maintaining the right tension is crucial for a beautiful and even weave, so take your time to get it just right and don’t rush the process
- Add some personal touches: Incorporate unique elements like beads, sequins, or natural materials to give your wall hanging a personal and distinctive touch that reflects your personality
- Don’t be too hard on yourself: Remember that it’s okay to make mistakes – they can often lead to new and exciting ideas, and the most important thing is to enjoy the journey and have fun while weaving on your frame loom
Key Takeaways for Weaving on a Frame Loom
I’ve learned that setting up my frame loom correctly is crucial for a successful weaving project, and it’s all about ensuring the warp threads are evenly spaced and the tension is just right
Choosing the right yarn for my wall hangings is an art in itself, and I’ve discovered that considering factors like color, texture, and weight is essential for creating a piece that truly reflects my personality
With practice and patience, I can create stunning textiles on my frame loom, from intricate patterns to simple, elegant designs, and it’s amazing to see how this ancient craft can be adapted to suit my own unique style and creativity
The Heart of the Loom
As I sit at my frame loom, threads weaving together under my fingers, I am reminded that every stitch is a story, every color a feeling, and every fabric a piece of my soul.
Aurora Wynter
Conclusion
As we conclude our journey through the world of frame loom weaving, it’s essential to recap the key elements that make this craft so unique. From setting up your frame loom to choosing the perfect yarn for your wall hangings, each step requires patience, dedication, and a willingness to experiment. By following the step-by-step instructions provided in this guide, you’ll be well on your way to creating stunning textiles that reflect your personal style and creativity.
As you embark on your own frame loom weaving adventure, remember that the true beauty of this craft lies in its ability to unleash your imagination. Don’t be afraid to try new things, make mistakes, and push the boundaries of what’s possible. With every passing thread, you’ll not only be creating something beautiful, but also weaving a story that’s uniquely yours – a story of creativity, self-expression, and the joy of bringing something from nothing into being.
Frequently Asked Questions
What are some common mistakes to avoid when setting up a frame loom for the first time?
When setting up my frame loom for the first time, I learned to avoid over-tightening the warp threads, as this can cause uneven tension and lead to a wonky weave. Also, make sure to double-check that your yarn is properly secured to the loom’s anchors to prevent it from coming loose mid-project.
How do I achieve the perfect tension when weaving on a frame loom?
To achieve perfect tension, I gently pull the yarn as I weave, checking the fabric’s drape and adjusting as needed. It’s all about finding that sweet spot where the weave is snug but not too tight, allowing the fabric to relax and drape beautifully.
Can I use any type of yarn for weaving on a frame loom or are there specific types that work best?
Not all yarns are created equal for frame loom weaving. I recommend using yarns with a bit of texture and stiffness, like wool or cotton, as they hold their shape nicely. Avoid super slippery or too-thin yarns, as they can be frustrating to work with. Experiment with different weights and fibers to find your favorite!