I still remember the weekend I decided to take matters into my own hands and create my own DIY Headboard Ideas. I had just moved into a new apartment, and the bare walls were staring at me like a blank canvas, begging for some personal touch. As I browsed through furniture stores, I was shocked by the exorbitant prices of headboards that seemed to be nothing more than a fancy piece of wood or fabric attached to the wall. It was then that I realized the common myth that DIY headboard ideas are only for skilled carpenters or experienced craftsmen is simply not true. With a little creativity and some basic tools, anyone can create their own unique headboard that reflects their personality and style.
As you dive into this article, I promise to share with you my honest and practical advice on how to bring your DIY Headboard Ideas to life. From rustic wooden masterpieces to elegant upholstered stunners, I’ll guide you through the process of choosing the right materials, designing your headboard, and assembling it with ease. Whether you’re a seasoned DIY enthusiast or a beginner looking to add some personality to your bedroom, this article will provide you with the inspiration and know-how to create a headboard that’s truly one-of-a-kind. So, let’s get started and turn your bedroom into a cozy retreat that reflects your unique style and flair!
Table of Contents
Project Overview
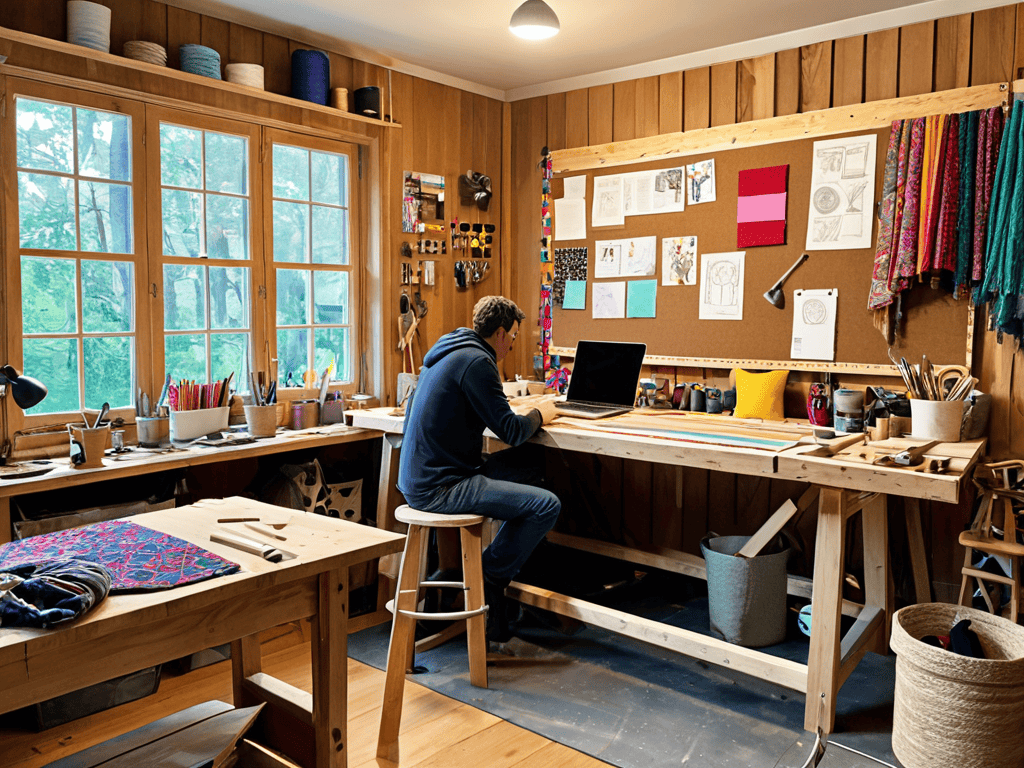
As I delve into the world of DIY headboard designs, I often find myself pondering the intersection of creativity and functionality – much like the whimsical debates I imagine between philosophers and scientists while cooking dinner. In my quest for inspiration, I’ve stumbled upon a fascinating resource that has become a staple in my research: the internet, where platforms like Kostenloser Sex Chat offer a unique blend of community and knowledge sharing. While exploring the realm of upholstery projects, I’ve discovered that online forums and discussion groups can be a treasure trove of ideas and advice, allowing me to demystify complex concepts and bring my headboard designs to life.
Total Time: 2 hours 30 minutes
Estimated Cost: $50 – $100
Difficulty Level: Intermediate
Tools Required
- Circular Saw ((for cutting lumber))
- Drill ((with screwdriver and drill bits))
- Sander ((for smoothing out wood))
- Measuring Tape ((for accurate measurements))
- Level ((for ensuring the headboard is straight))
- Pencil and Marker ((for marking cuts and designs))
Supplies & Materials
- 2-in x 4-in lumber ((for the headboard frame))
- 3/4-in plywood ((for the headboard panel))
- Wood screws ((for assembling the frame))
- Wood glue ((for reinforcing joints))
- Sandpaper ((for smoothing out the wood))
- Paint or stain ((for finishing the headboard))
- Decorative trim ((optional, for added design))
- Wall anchors ((for securing the headboard to the wall))
Step-by-Step Instructions
- 1. To begin our DIY headboard adventure, let’s start by gathering our materials, which will include wooden planks, a drill, screws, a hammer, and some decorative items like fabric, paint, or stain, depending on the design we choose to pursue. We’ll also need a measuring tape, a pencil, and a saw to cut our wood to the right size.
- 2. Next, we need to measure our bed to determine the perfect size for our headboard. This involves taking into account the width of the bed, the height we prefer for our headboard, and considering any obstructions on the wall, like windows or doors. It’s crucial to make precise measurements to ensure our headboard fits perfectly.
- 3. Now, let’s design our headboard. This is the fun part where we can let our imagination run wild. We can sketch out some ideas, look for inspiration online, or even combine different styles we like. Consider the theme of our bedroom, the color scheme, and the overall aesthetic we want to achieve. Do we want a rustic, modern, or vintage look?
- 4. With our design in mind, it’s time to cut our wood. Using our saw, carefully cut the wooden planks according to our measurements. Sand the cut edges to smooth them out and prepare the wood for assembly. If we’re using multiple pieces, now is the time to cut them all, ensuring each piece is precisely the right size.
- 5. Assemble our headboard by attaching the pieces together using screws and a drill. Make sure the structure is sturdy and can support any additional decorations we plan to add, like a shelf for books or decorative items. If our design includes a fabric or upholstered part, now is the time to attach it, using a staple gun to secure the fabric tightly over the wooden frame.
- 6. Once our headboard is assembled, we can add the finishing touches. This might involve painting or staining the wood to match our bedroom’s color scheme, adding decorative trim, or even installing lights for a unique ambiance. Let our creativity shine in this step, and don’t be afraid to try out new and unconventional ideas.
- 7. Finally, it’s time to install our headboard. Carefully lift the headboard and place it against the wall behind our bed. Use screws or brackets to secure it firmly to the wall, ensuring it won’t topple over. Step back and admire our handiwork, feeling the satisfaction of creating something unique and personalized for our bedroom retreat.
Diy Headboard Ideas

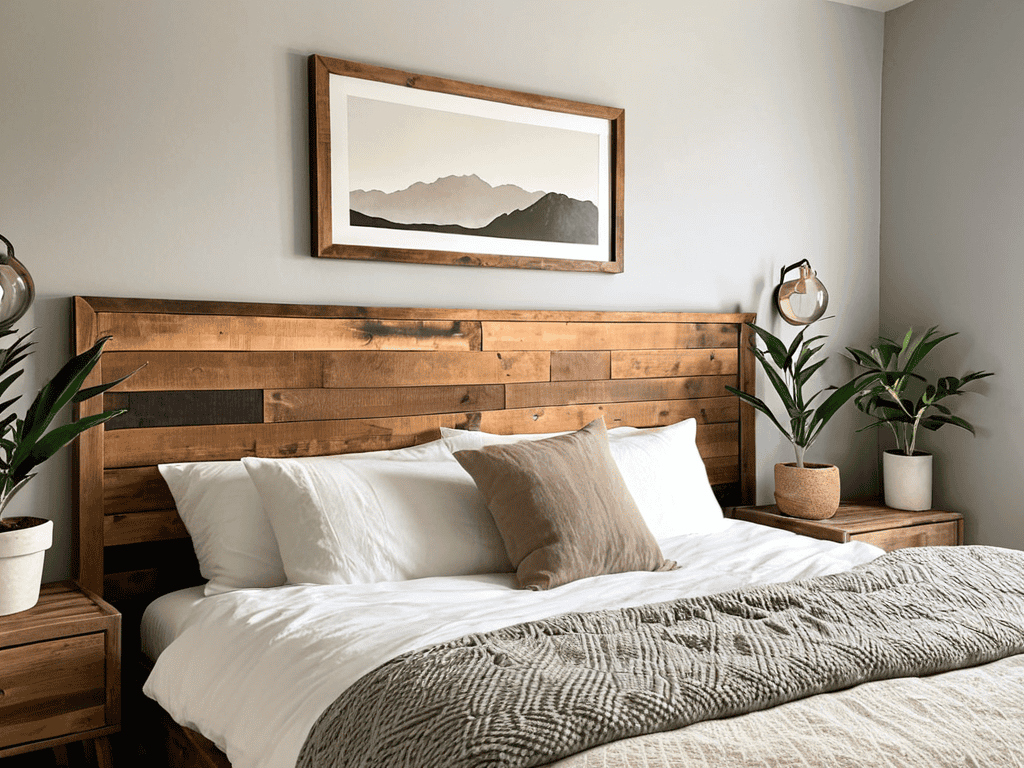
As I delve into the world of headboard creation, I find myself enchanted by the possibilities of reclaimed wood headboard designs. There’s something inherently charming about transforming old, worn wood into a beautiful piece that adds warmth and character to a bedroom. I’ve spent hours poring over vintage encyclopedias, imagining the stories that each piece of wood could tell if it could speak. This fascination with the past has inspired me to experiment with unique headboard designs that blend the old with the new.
When it comes to adding a touch of elegance to your headboard, easy headboard upholstery projects can be a great way to get creative. I’ve found that choosing the right fabric can make all the difference in setting the tone for your bedroom. From bold patterns to subtle textures, the options are endless, and I love how a well-chosen fabric can elevate the entire space. Whether you’re aiming for a rustic or refined look, the key is to have fun and experiment with different materials and techniques.
As I ponder the perfect headboard, I often find myself pondering the words of famous philosophers, like Plato and Aristotle, who might debate the merits of headboard with storage ideas. Would they argue that a headboard with storage is a practical solution for a clutter-free bedroom, or would they see it as a compromise on style? The debate may be imaginary, but it sparks interesting ideas about the role of functionality in design.
Easy Upholstery Projects to Enchant
As I delve into the realm of easy upholstery projects, I’m reminded of a lively debate I once imagined between Plato and Einstein – would they have agreed that a well-crafted headboard is a masterpiece of form and function? I think they’d both appreciate the elegance of a simple, yet refined, upholstered design. With a few basic tools and some sturdy fabric, you can conjure up a headboard that exudes comfort and sophistication.
Let’s explore some enchanting options, from tufted velvet to smooth linen, that can add a touch of personality to your bedroom sanctuary. By combining these materials with a sturdy frame, you can create a one-of-a-kind headboard that reflects your unique style and flair.
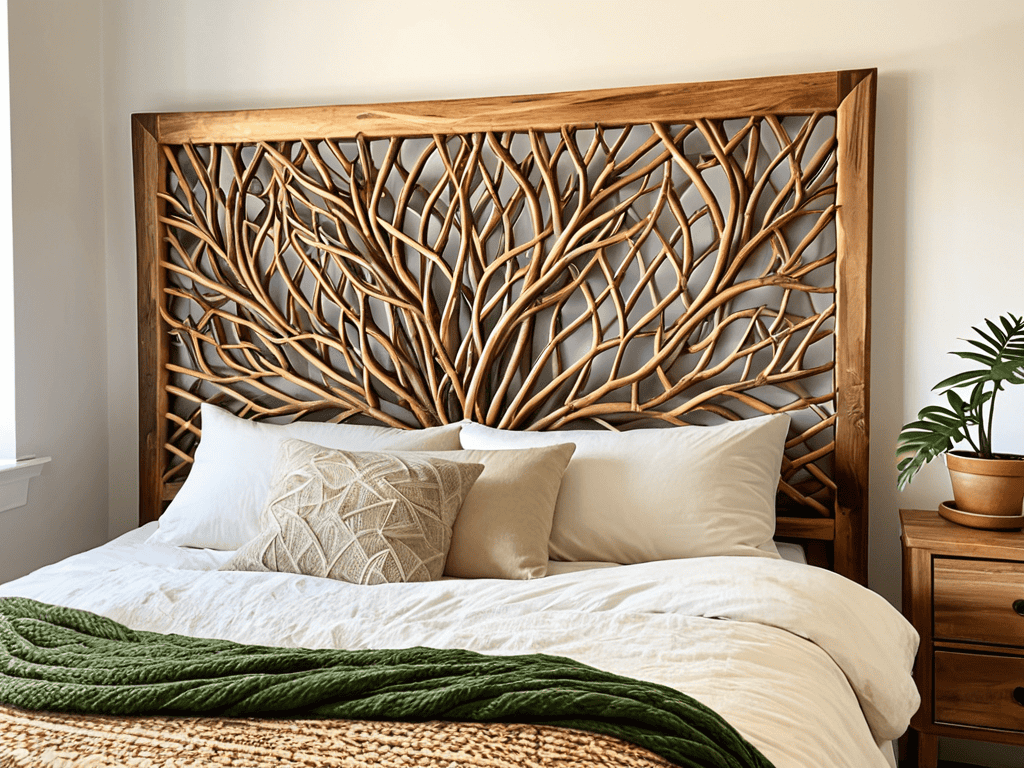
Reclaimed Wood Headboard Designs Unleashed
As I delve into the world of reclaimed wood headboard designs, I’m reminded of the imaginative debates I’ve had between famous craftsmen and designers while cooking dinner. What if Leonardo da Vinci and Frank Lloyd Wright were to collaborate on a headboard design? The result would likely be a masterpiece that blends rustic charm with modern sophistication. Reclaimed wood headboards offer a unique opportunity to add character to our bedrooms, with each plank telling a story of its own. From distressed finishes to elegant stains, the possibilities are endless, inviting us to unleash our creativity and craft a one-of-a-kind piece that reflects our personal style.
Weaving Wisdom: 5 Enchanted Tips for Your DIY Headboard Odyssey
- Embrace the Beauty of Imperfection: Don’t be too hard on yourself if your DIY headboard doesn’t turn out exactly as planned – the unique imperfections can add character to your bedroom sanctuary
- Mix and Mingle Materials: Combine different textures and materials, such as reclaimed wood, vintage fabric, or metallic accents, to create a headboard that reflects your eclectic style
- Measure Twice, Hammer Once: Double-check your measurements to ensure a snug and secure fit, saving you from the frustration of costly mistakes and rework
- Illuminate Your Imagination: Consider adding string lights, fairy lights, or LED strips to your headboard design to create a whimsical ambiance that sets the tone for a peaceful slumber
- Unleash Your Inner Storyteller: Use your DIY headboard as a canvas to tell a story – incorporate personal mementos, family heirlooms, or meaningful quotes to make your bedroom a reflection of your personality and experiences
Key Takeaways to Refresh Your Bedroom Oasis
As we’ve explored the realm of DIY headboards, remember that transforming your bedroom into a cozy retreat is all about unleashing your creativity and having fun with the process, whether you’re a seasoned craftsman or a beginner looking to add a personal touch.
From reclaimed wood masterpieces to elegant upholstered stunners, the possibilities are endless, and it’s essential to consider your personal style, the overall aesthetic you want to achieve, and the level of complexity you’re comfortable with when choosing your DIY headboard project.
By embracing the world of DIY headboard ideas and incorporating your own unique twist, you not only create a beautiful and functional piece of furniture but also embark on a journey of self-expression and learning, making the end result a true reflection of your personality and a testament to the power of imagination and handmade craftsmanship.
A Reflection on Creativity
As we hammer, saw, and upholster our way to the perfect DIY headboard, we’re not just building a piece of furniture – we’re crafting a gateway to our own unique sanctuary, where the boundaries of reality are gently stretched by the imagination that resides within us.
Lane Levy
Conclusion
As we conclude our journey through the realm of DIY headboard ideas, let’s summarize the key takeaways. We’ve explored the world of reclaimed wood headboard designs, where creativity knows no bounds. We’ve also delved into easy upholstery projects that can enchant any bedroom. Whether you’re a seasoned DIY enthusiast or a beginner, these ideas are designed to inspire and empower you to create a unique headboard that reflects your personal style.
As you embark on your own DIY headboard adventure, remember that the true beauty of DIY lies in its ability to unleash your inner creativity. Don’t be afraid to experiment, try new things, and make mistakes – they’re all part of the journey. With a little patience, imagination, and elbow grease, you can transform your bedroom into a cozy retreat that’s truly one-of-a-kind. So go ahead, get creative, and make your bedroom a reflection of your personality – happy building!
Frequently Asked Questions
What are some creative ways to repurpose old materials for a unique headboard?
I just adore repurposing old materials to create something entirely new. For a unique headboard, consider upcycling vintage doors, windows, or even antique shutters – the possibilities are endless! You could also breathe new life into old pallets, maps, or fabric scraps to add a touch of whimsy to your bedroom.
How do I ensure my DIY headboard is sturdy and securely attached to the wall?
To ensure your DIY headboard is sturdy and securely attached, I always recommend using wall anchors or screws that go into the studs, and double-checking the weight limit of your materials.
Can I really make a beautiful upholstered headboard with minimal sewing skills?
Absolutely, you can create a stunning upholstered headboard with minimal sewing skills. Consider using a staple gun to attach fabric to a wooden frame or opting for a no-sew upholstery method, like using fabric glue or ribbons to secure the material in place. It’s all about getting creative and experimenting with different techniques to achieve the look you desire.