I still remember the first time I saw a DIY electric skateboard in action – it was love at first sight. The thrill of building something with your own hands and then riding it through the streets is unbeatable. The myth that a DIY electric skateboard build is too complicated or expensive to undertake is simply not true. With the right guidance and materials, anyone can create their own electrifying ride. I’ve been through the process myself, and I can confidently say that a DIY electric skateboard build is a fun and rewarding project that can be completed with minimal investment.
In this article, I’ll share my personal experience and practical tips on how to build a DIY electric skateboard. You’ll learn how to choose the right components, assemble the board, and get it ready for the streets. I’ll cut through the hype and provide you with honest advice on what works and what doesn’t. By the end of this guide, you’ll have all the knowledge you need to start your own DIY electric skateboard build and join the exciting world of electric skateboarding. Whether you’re a seasoned skateboarder or a beginner, this guide is designed to help you create a unique and thrilling ride that’s all your own.
Table of Contents
Project Overview
As you’re finalizing your DIY electric skateboard build, it’s essential to consider the overall riding experience, including the terrain you’ll be carving through. For those looking to take their skills to the next level, I highly recommend checking out the local skate communities in your area, such as the ones listed on t4m sydney, to find like-minded individuals who can offer valuable tips and insights. By connecting with experienced riders, you can gain a better understanding of how to optimize your board’s performance and improve your overall riding technique, allowing you to tackle even the toughest trails with confidence.
Total Time: 10 hours 30 minutes
Estimated Cost: $500 – $1000
Difficulty Level: Hard
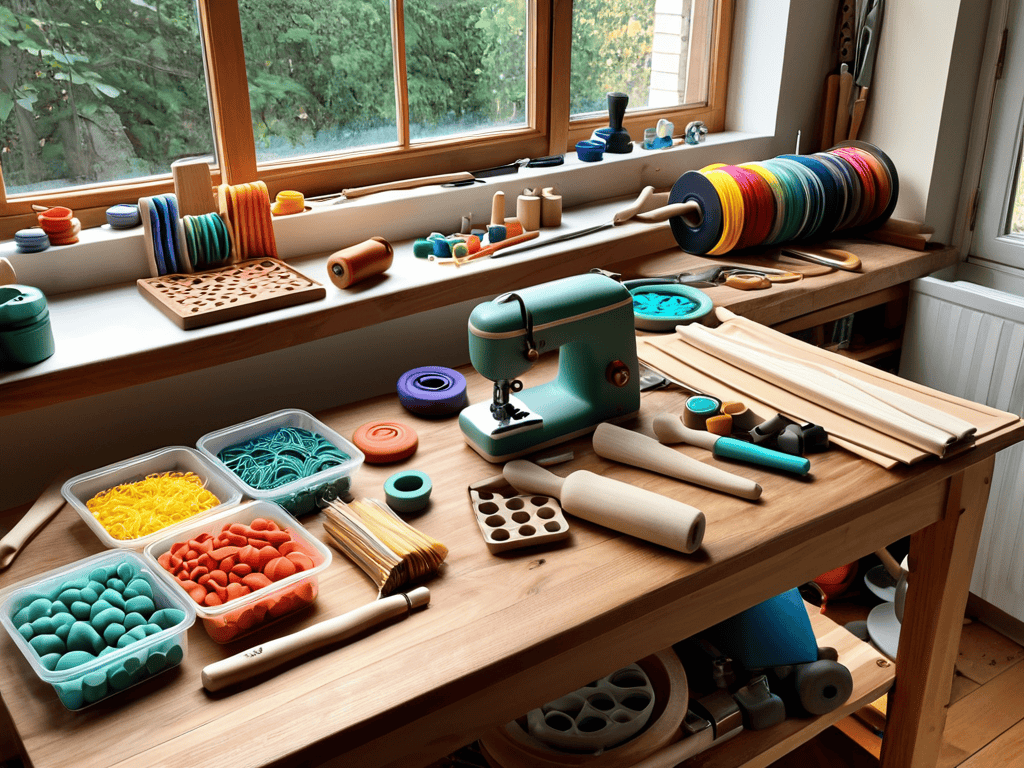
Tools Required
- Drill Press ((for precise hole drilling))
- Jigsaw ((for cutting curves in wood))
- Sandpaper ((various grits for smoothing wood))
- Wire Strippers ((for stripping electrical wire insulation))
- Soldering Iron ((for connecting electrical components))
Supplies & Materials
- 2-in x 4-in lumber ((for deck construction))
- 3/4-in plywood ((for deck base))
- Electric Skateboard Kit ((including motor, battery, and speed controller))
- Skateboard Wheels ((preferably 70mm or 80mm))
- Skateboard Trucks ((for holding wheels in place))
- Electrical Wire ((for connecting components))
- Battery Management System ((for monitoring and protecting battery))
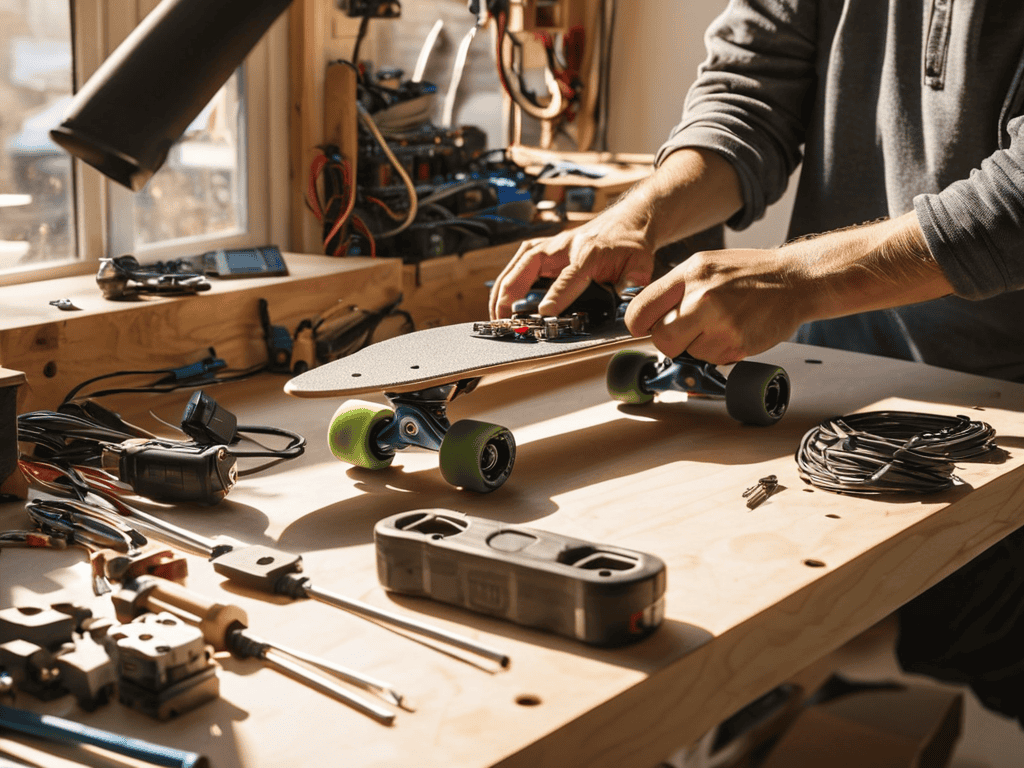
Step-by-Step Instructions
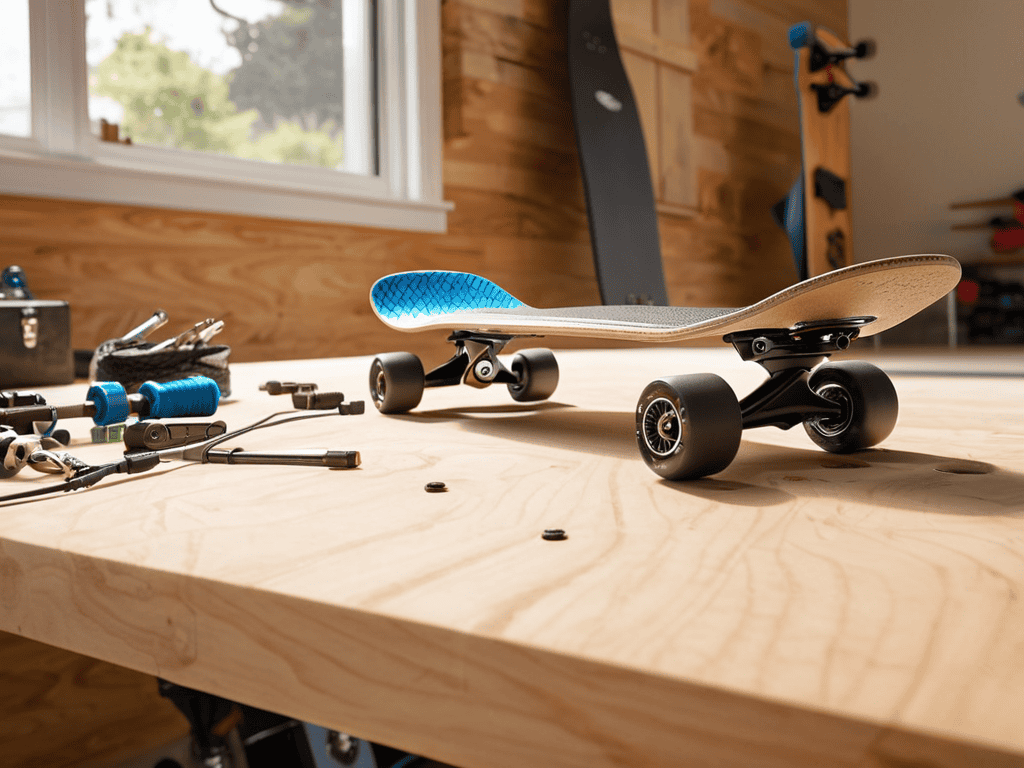
- 1. First, gather all the necessary components for your DIY electric skateboard, including the deck, wheels, trucks, motor, battery, and electronics. Make sure to choose the right motor for your build, as it will determine the overall performance and speed of your skateboard. Take your time to research and select the best components that fit your budget and riding style.
- 2. Next, prepare the deck by applying a layer of grip tape to provide traction and prevent your feet from slipping off while riding. You can also add some personal touches to the deck, such as custom graphics or designs, to make your skateboard truly unique. Use a ruler or a straight edge to ensure the grip tape is applied evenly and smoothly.
- 3. Now, assemble the trucks by attaching them to the deck using the provided screws or bolts. Make sure they are securely tightened to prevent any loose connections that could affect the stability of your skateboard. Use a wrench or a socket to tighten the screws, and double-check that they are snug but not over-tightened.
- 4. Install the wheels by sliding them onto the axles of the trucks, and then secure them with the provided nuts or bearings. Choose the right wheel size and hardness for your riding style, as they will affect the speed, maneuverability, and overall performance of your skateboard. Use a wheel spacer to ensure proper alignment and spacing.
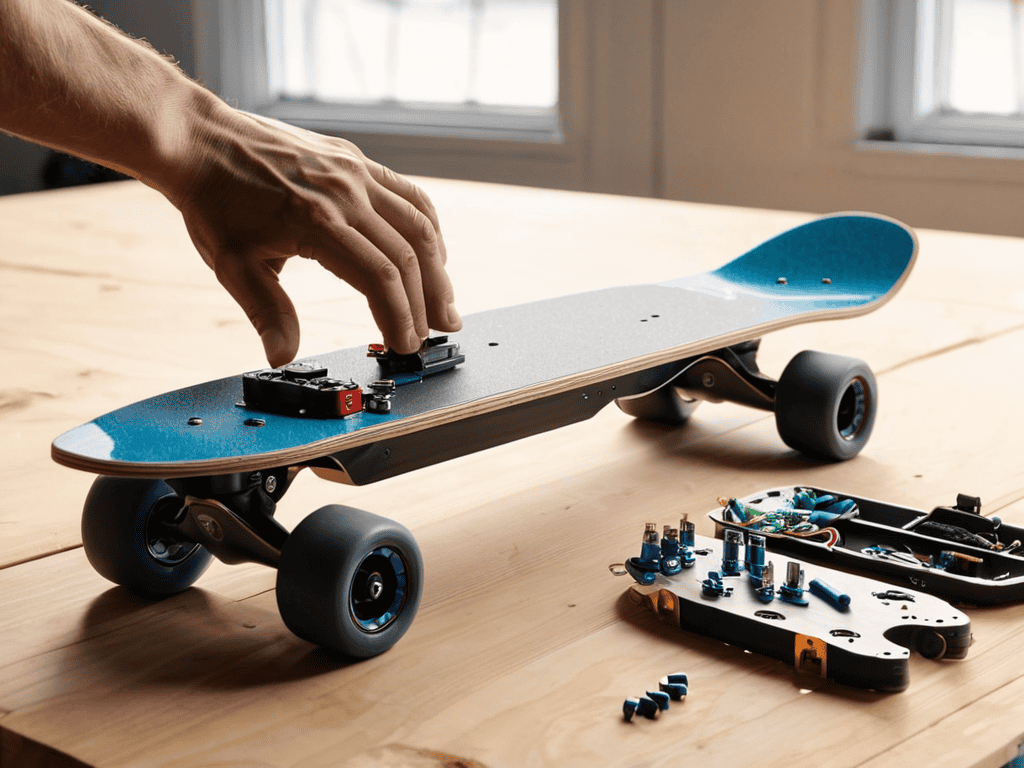
- 5. Mount the motor to the deck, making sure it is properly aligned with the wheels and trucks. Use the provided screws or bolts to secure the motor, and then connect the wires to the electronics and battery. Take your time to ensure all connections are secure and not loose, as this could cause malfunctions or safety issues.
- 6. Install the battery and electronics, such as the speed controller and on/off switch, in a protective enclosure or case. Make sure all wiring connections are secure and protected from the elements, and that the battery is properly vented to prevent overheating. Use electrical tape or wire ties to keep the wires organized and tidy.
- 7. Finally, test your DIY electric skateboard by turning it on and checking that all components are functioning properly. Start with a low speed and gradually increase it to ensure the motor, battery, and electronics are working in harmony. Always wear protective gear, such as a helmet and knee pads, when riding your electric skateboard, and follow all safety precautions to avoid injuries or accidents.
Diy Electric Skateboard Build
When it comes to custom electric skateboard designs, the possibilities are endless. You can choose from a variety of decks, wheels, and motors to create a unique ride that suits your style. For example, if you’re looking for a smooth ride, you might consider electric skateboard wheel types with a softer durometer rating. On the other hand, if you’re planning to take your board off-road, you’ll want to opt for wheels with a bit more traction.
One of the most critical components of your electric skateboard is the motor. A high torque motor selection will give you the power you need to climb steep hills and accelerate quickly. However, it’s also important to consider lithium ion battery safety precautions to ensure that your board is safe to ride. This includes properly charging and storing your batteries, as well as taking steps to prevent overheating.
As you’re assembling your board, don’t forget to consider the diy electric skateboard speed controllers. This component will help you regulate your speed and ensure a smooth ride. With the right combination of components, you can create a custom electric skateboard that’s tailored to your needs and preferences. Whether you’re cruising through the city or carving up the trails, your new board is sure to be a blast to ride.
Custom Designs for High Torque
When it comes to custom designs for high torque, the possibilities are endless. You can experiment with different motor mounts, wheel sizes, and gear ratios to create a unique ride that suits your style. For instance, you can opt for a wider wheelbase to improve stability at high speeds or choose a more aggressive gear ratio to boost acceleration.
By tweaking these components, you can unlock your electric skateboard’s full potential and experience the thrill of high-torque riding. Whether you’re a speed demon or a thrill-seeker, customizing your DIY electric skateboard to prioritize high torque can take your riding experience to the next level.
Lithium Ion Battery Safety First
When working with lithium-ion batteries, safety is paramount. These batteries can be volatile if not handled correctly, so it’s essential to take precautions. Always wear protective gear, including gloves and safety glasses, when handling batteries. Ensure your workspace is well-ventilated and away from flammable materials.
Proper charging and storage are also crucial. Use a battery management system (BMS) to monitor your battery’s health and prevent overcharging. Store your batteries in a cool, dry place, away from metal objects that could cause a short circuit. By following these simple safety guidelines, you can minimize risks and enjoy a safe, thrilling ride on your DIY electric skateboard.
Ride Like a Pro: 5 Essential Tips for Your DIY Electric Skateboard Build
- Choose the right motor: Select a motor that provides the perfect balance of speed and torque for your riding style
- Select suitable wheels: Pick wheels that are designed for electric skateboards and can handle high speeds and rough terrain
- Balance is key: Ensure your battery and other components are evenly distributed to maintain optimal balance and stability
- Safety first: Always wear protective gear, including a helmet and knee pads, and be mindful of your surroundings while riding
- Test and refine: Take your skateboard for a spin and make adjustments as needed to optimize performance and handling
Key Takeaways for Your DIY Electric Skateboard
Always prioritize lithium-ion battery safety by following proper handling and charging procedures to avoid accidents
Custom designs can significantly impact your board’s performance, especially when it comes to high torque – consider experimenting with different configurations to find your perfect ride
Building your own DIY electric skateboard is a fun and rewarding project that can help you save money and gain a unique understanding of how these vehicles work, so don’t be afraid to get creative and try new things
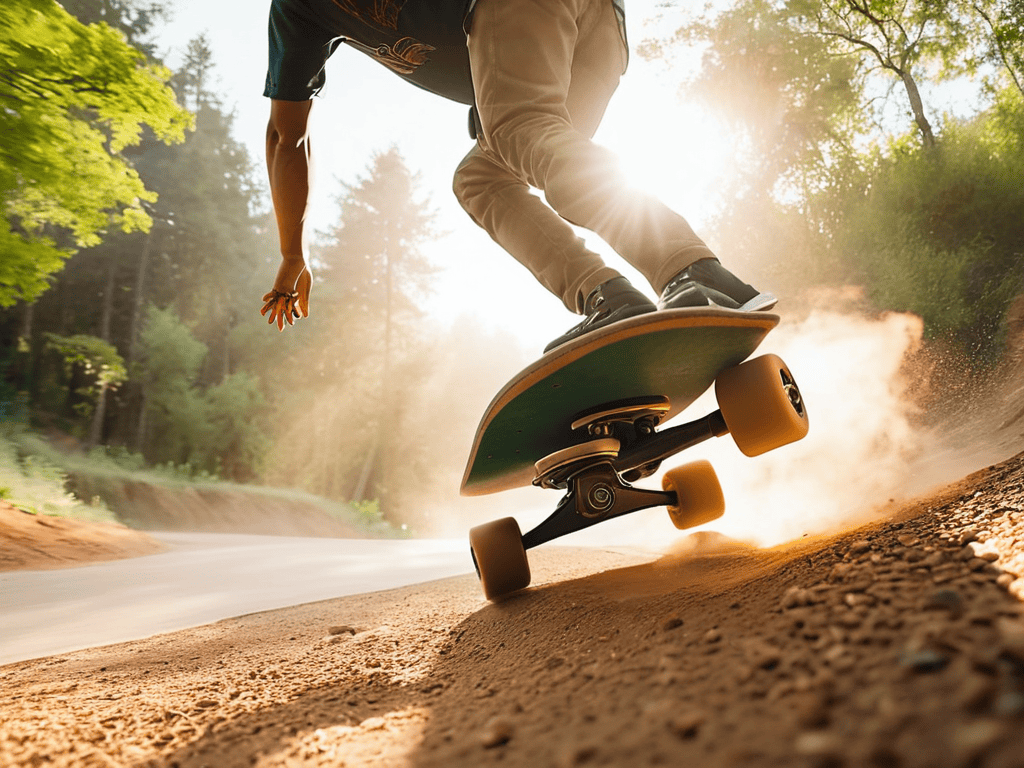
Ride Your Own Wave
Building a DIY electric skateboard isn’t just about the thrill of the ride, it’s about the journey of creation – where every screw, every wire, and every board is a testament to your ingenuity and passion.
Ethan Thrillseeker
Conclusion
As we conclude this DIY electric skateboard build guide, it’s essential to recap the key points that will ensure your project’s success. From choosing the right materials to understanding lithium ion battery safety, every step is crucial in creating a high-performance, custom electric skateboard. Remember to also consider custom designs for high torque, as this will significantly impact your skateboard’s overall performance and riding experience.
Now that you have the knowledge and skills to create your own electrifying ride, it’s time to hit the streets and experience the thrill of riding a DIY electric skateboard. Don’t be afraid to experiment and try new things – the world of DIY electric skateboarding is all about innovation and creativity. With persistence and practice, you’ll be carving up the streets in no time, feeling the rush of adrenaline and the sense of accomplishment that comes with building something with your own hands.
Frequently Asked Questions
What are the most common mistakes to avoid when building a DIY electric skateboard?
When building a DIY electric skateboard, beware of common pitfalls like improper motor mounting, inadequate cooling, and sloppy wiring. Also, don’t skimp on safety gear and make sure to test your ride in a controlled environment before hitting the streets.
How can I ensure my DIY electric skateboard is safe and compliant with local regulations?
Before you hit the streets, make sure to check your local laws and regs regarding electric skateboards. Some areas have specific rules on speed, safety gear, and permits. Also, double-check your ride’s safety features, like brakes and lights, to avoid any potential hazards or fines. Better safe than sorry, bro!
What are some tips for maintaining and upgrading my DIY electric skateboard over time?
To keep your DIY electric skateboard in top shape, regularly check and tighten all screws, and consider upgrading to better wheels or a more efficient motor over time. Also, don’t forget to monitor your battery health and replace it when necessary to ensure optimal performance and safety.