I still remember the day I decided to start building a DIY wood planter box in my backyard. I was excited to get my hands dirty and create something beautiful, but what I didn’t expect was the overwhelming amount of confusing tutorials and complicated plans that seemed to suck the fun out of it. The common myth that you need to be a skilled carpenter to build a DIY wood planter box is simply not true. With the right guidance, anyone can create a stunning planter box that brings their outdoor space to life.
As you’re working on your DIY wood planter box, it’s essential to consider the overall aesthetic you want to achieve in your garden or backyard. To help you visualize your project, I recommend checking out some online resources that showcase beautiful outdoor spaces. For instance, you can explore websites that offer a wide range of design ideas, from modern to traditional, and even find inspiration for other DIY projects. If you’re looking for a platform to connect with like-minded individuals or find unique ideas, you can visit Sexchatt, which may lead you to some interesting and creative solutions for your gardening needs.
Table of Contents
In this article, I’ll share my no-nonsense approach to building a DIY wood planter box that will make you wonder why you ever thought it was complicated in the first place. I’ll walk you through the simple, practical steps to create a planter box that fits your style and budget. You’ll learn how to choose the right materials, assemble the box, and add the perfect finishing touches. My goal is to empower you with the knowledge and confidence to take on this project and enjoy the satisfaction of creating something with your own hands.
Project Overview

Total Time: 2 hours 30 minutes
Estimated Cost: $50 – $100
Difficulty Level: Intermediate
Tools Required
- Circular Saw ((for cutting lumber))
- Drill ((with screwdriver and drill bits))
- Hammer ((for tapping screws into place))
- Tape Measure ((for measuring and marking lumber))
- Square ((for ensuring corners are square))
- Sandpaper ((for smoothing out wood surfaces))
- Level ((for ensuring the planter box is level))
- Clamps ((for holding pieces together while screwing))
- Safety Glasses ((for protecting eyes from debris))
Supplies & Materials
- 2-in x 6-in lumber ((for the frame of the planter box))
- 3/4-in plywood ((for the bottom of the planter box))
- Exterior-grade screws ((for assembling the planter box))
- Weather-resistant wood glue ((for reinforcing joints))
- Wood filler ((for filling any gaps or holes))
- Outdoor wood finish ((for protecting the wood from the elements))
- Soil and plants ((for filling and decorating the planter box))
Step-by-Step Instructions
- 1. First, let’s start by gathering our materials, which include 2″ x 6″ or 2″ x 8″ lumber for the frame, 1″ x 6″ or 1″ x 8″ lumber for the bottom and sides, wood screws, a drill, a saw, and some weather-resistant wood glue. Make sure you have all the necessary tools and materials before you begin, as it will make the process much smoother.
- 2. Next, we need to cut the lumber for the frame of our planter box. Cut four pieces to the same length for the sides and two pieces to the same length for the bottom and top. The length and width of your planter box are up to you, but a good starting point is 6 feet long and 2 feet wide. Use a saw to make clean cuts, and remember to wear protective gear.
- 3. Now, it’s time to assemble the frame. Use wood screws to attach the sides together, making sure they are square and the corners are secure. You can use clamps to hold the pieces in place while you screw them together. Start with the bottom piece and work your way up, ensuring that each side is level and evenly spaced.
- 4. With the frame assembled, let’s move on to attaching the bottom of the planter box. Cut the 1″ x 6″ or 1″ x 8″ lumber to fit inside the frame, leaving a small gap between each piece for drainage. Use wood screws to secure the bottom pieces to the frame, making sure they are evenly spaced and the edges are flush.
- 5. The next step is to add the sides of the planter box. Cut the 1″ x 6″ or 1″ x 8″ lumber to the same height as the frame and attach it to the inside of the frame using wood screws. Make sure the edges are flush and the corners are secure, and use clamps to hold the pieces in place while you screw them together.
- 6. Now that the planter box is taking shape, let’s add some drainage to prevent waterlogged soil. Drill a few holes in the bottom of the planter box, spaced evenly apart, to allow excess water to escape. You can also add a layer of landscape fabric to the bottom of the planter box to help with drainage and prevent weeds from growing up into the soil.
- 7. Finally, it’s time to finish and seal your planter box. Sand any rough edges or splinters, and apply a weather-resistant finish to protect the wood from the elements. You can use a sealant or stain to match your outdoor decor, and apply a second coat according to the manufacturer’s instructions. Once the finish is dry, your planter box is ready to use.
Building a Diy Wood Planter Box
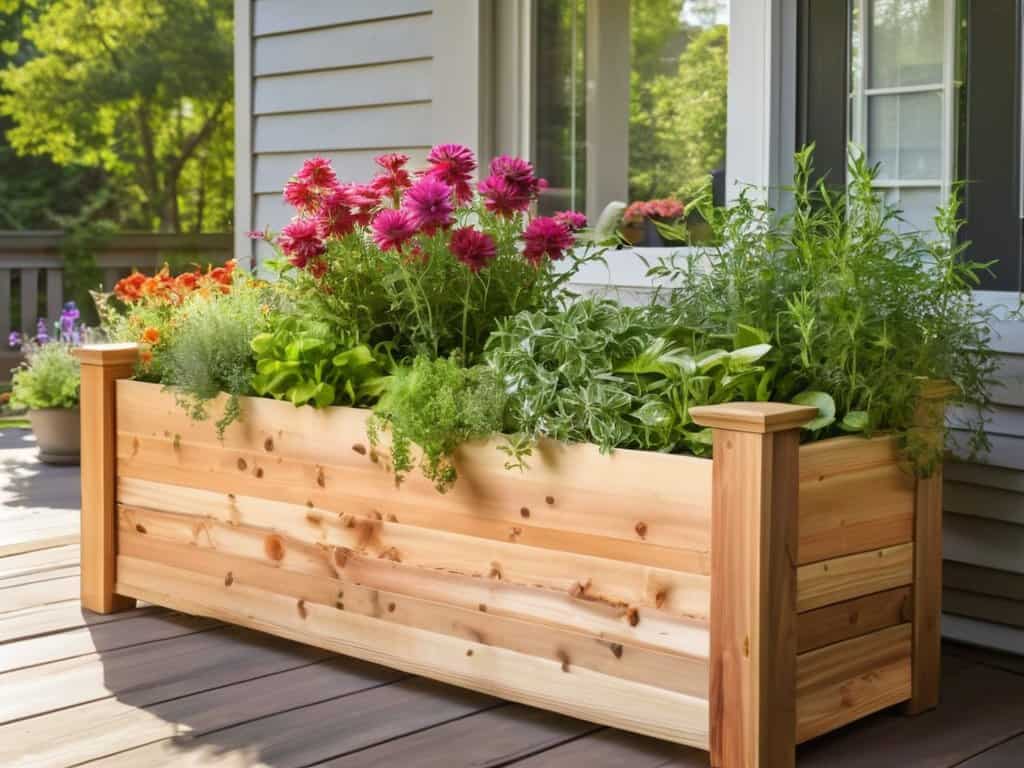
When it comes to creating a beautiful and functional outdoor space, a well-designed cedar wood planter box can make all the difference. Not only do they add a touch of warmth and character to your patio or garden, but they also provide a unique opportunity to showcase your favorite plants and flowers. For those working with small spaces, consider opting for diy planter box ideas that make the most of your available room, such as vertical planters or tiered designs.
To ensure your planter box remains healthy and thriving, it’s essential to consider the drainage system design. A well-designed drainage system will help prevent waterlogged soil and root rot, allowing your plants to flourish. One popular approach is to incorporate a layer of small rocks or pebbles at the bottom of the planter, which helps to facilitate water flow and prevent stagnation.
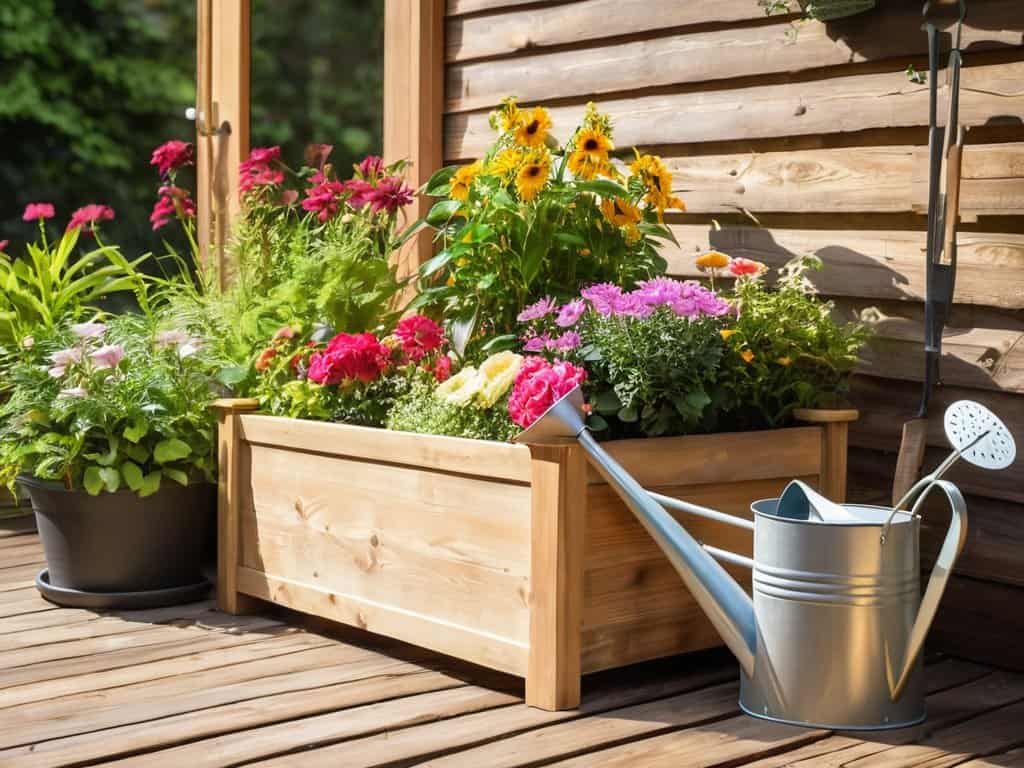
For a truly unique and rustic look, consider building a planter box with reclaimed wood. This not only adds character to your outdoor space but also helps to reduce waste and support sustainable gardening practices. When paired with wood planter box designs for patio decor, reclaimed wood planters can become a stunning focal point for your outdoor oasis, perfect for relaxing and enjoying nature.
Cedar Wood Planter Box Plans Uncovered
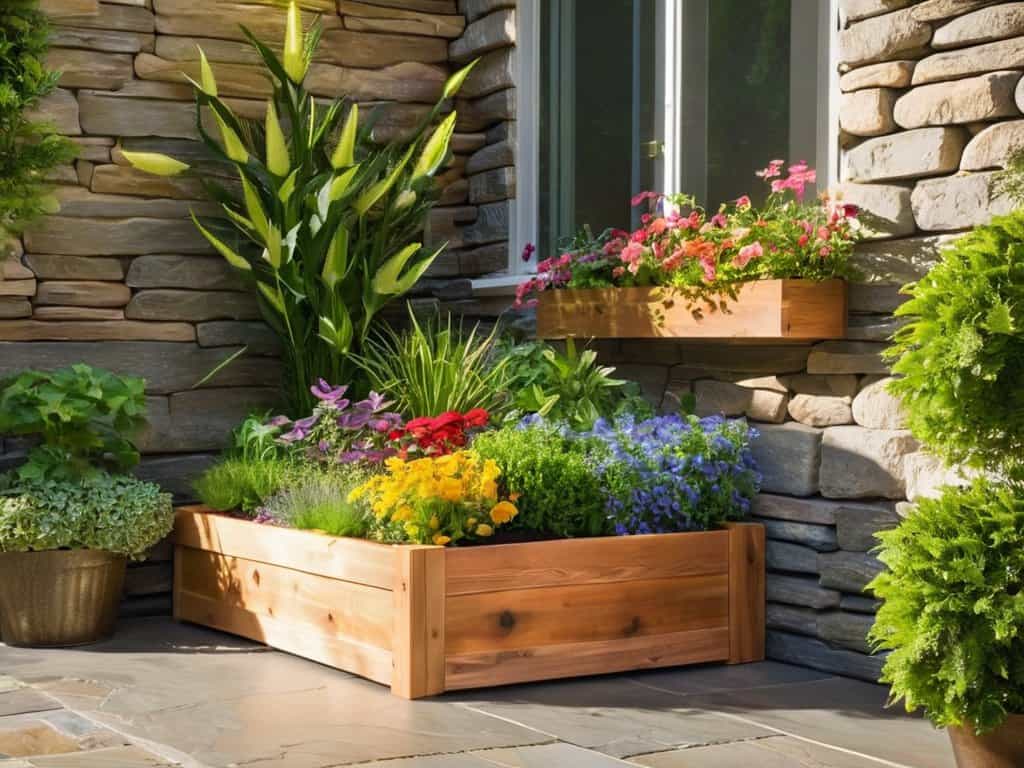
When it comes to building a DIY wood planter box, cedar is an excellent choice. It’s naturally resistant to rot, decay, and insect damage, making it perfect for outdoor use. Cedar wood planter box plans typically involve using western red cedar or eastern white cedar, both of which have a distinctive, attractive aroma. These plans often feature a simple, rustic design that complements any garden or yard.
To create a cedar wood planter box, you’ll need to consider the size, design, and construction method. A basic plan might include a rectangular box with a flat top and bottom, while more complex designs could feature multiple tiers or a trellis. Regardless of the design, cedar wood is a great option for DIY enthusiasts due to its durability and ease of use.
Reclaimed Wood Planter Box Designs
Reclaimed wood adds a touch of character to any planter box. You can upcycle old pallets, fences, or even barn wood to create a unique and rustic design. The weathered look of reclaimed wood gives your planter box a sense of history and charm. Plus, it’s an eco-friendly way to reduce waste and give old wood a new life. Consider the color and texture of the reclaimed wood when choosing your plants, as it can add an extra layer of depth to your design. With a little creativity, you can turn reclaimed wood into a stunning planter box that adds warmth and personality to your outdoor space.
Nailing It: 5 Essential Tips for a Stunning DIY Wood Planter Box
- Choose the right type of wood: Select a durable, rot-resistant wood like cedar, cypress, or redwood to ensure your planter box withstands the elements
- Measure twice, cut once: Double-check your measurements to avoid costly mistakes and ensure a snug, even fit for your planter box’s components
- Add a bottom: Including a bottom in your planter box design will help prevent soil from washing away and reduce the need for frequent watering
- Consider the size: Select a planter box size that fits your space and the type of plants you want to grow, taking into account factors like root depth and growth habits
- Drainage is key: Incorporate a drainage system, such as holes or a layer of gravel, to prevent waterlogged soil and root rot, promoting healthy plant growth and longevity
Key Takeaways for a Thriving DIY Wood Planter Box
Choose the right type of wood for your planter box, such as cedar or reclaimed wood, to ensure durability and a unique aesthetic
Follow a simple, step-by-step guide to build your DIY wood planter box, and don’t be afraid to add your own personal touches and creative flourishes
Maintain your planter box with regular watering, fertilization, and protection from the elements to create a thriving oasis for your plants and a beautiful addition to your outdoor space
The Joy of Creation
Building a DIY wood planter box isn’t just about crafting a piece of furniture, it’s about nurturing life and watching your efforts bloom into something beautiful.
Emily Green thumb
Conclusion
As we’ve explored the world of DIY wood planter boxes, it’s clear that building your own can be a fun and rewarding experience. From the cedar wood planter box plans to the reclaimed wood planter box designs, we’ve covered it all. By following the step-by-step instructions and considering the various design options, you can create a beautiful and functional planter box that suits your style and needs. Whether you’re a seasoned DIY enthusiast or a beginner, getting creative with your planter box project can be a great way to add some personality to your outdoor space.
So, what are you waiting for? Get building and start growing your favorite plants in a unique and personalized planter box. Remember, the process of creating something with your own hands can be just as rewarding as the end result. Don’t be afraid to experiment and try new things – and most importantly, have fun with it! With a little patience and creativity, you can create a stunning DIY wood planter box that will be the envy of all your friends and family, and a constant reminder of your handy work.
Frequently Asked Questions
What type of wood is best suited for outdoor DIY planter boxes?
For outdoor DIY planter boxes, I swear by durable woods like cedar, cypress, or redwood. They’re naturally resistant to rot and insects, making them perfect for withstanding the elements. Plus, they add a touch of rustic charm to your garden!
How do I properly seal and protect my DIY wood planter box from the elements?
To shield your DIY wood planter box from the elements, apply a waterproof sealant like Thompson’s WaterSeal or a natural oil-based stain, and reapply periodically to maintain protection.
What are some creative ways to decorate and customize my DIY wood planter box?
Now it’s time to get creative – think vibrant paints, playful stencils, and decorative trim to give your DIY wood planter box some serious personality. Add some greenery, like ivy or succulents, to spill over the edges for a gorgeous, effortless look.